
If you’ve been wondering how to draw a spotlight effect using Inkscape, then it’s your lucky day. We’re going to be using a bunch of clever tricks to create an amazing spotlight drawing. Better yet, we’ll be making it completely dynamic for a little animation in Inkscape. Let’s get started!
1. Setting the Scene
Step 1
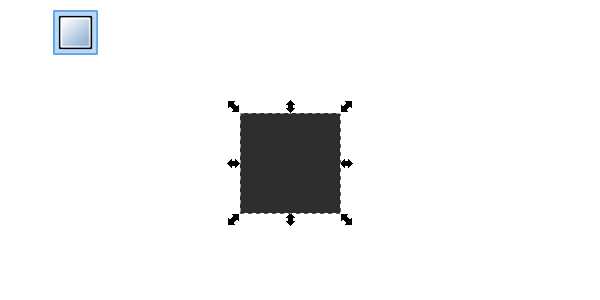
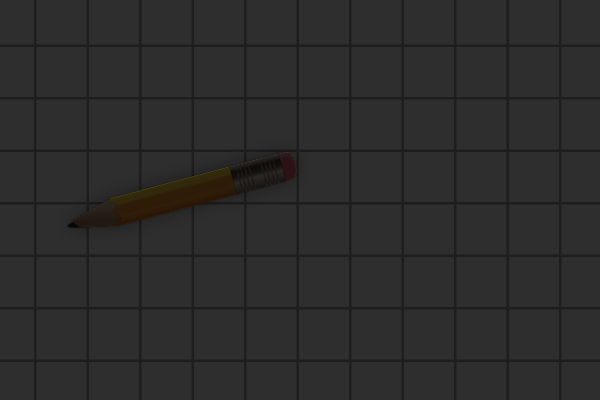
The scene at hand here is going to be overhead and very dark. To start, I’m going to create a single 50px square with a dark gray Fill.
Step 2
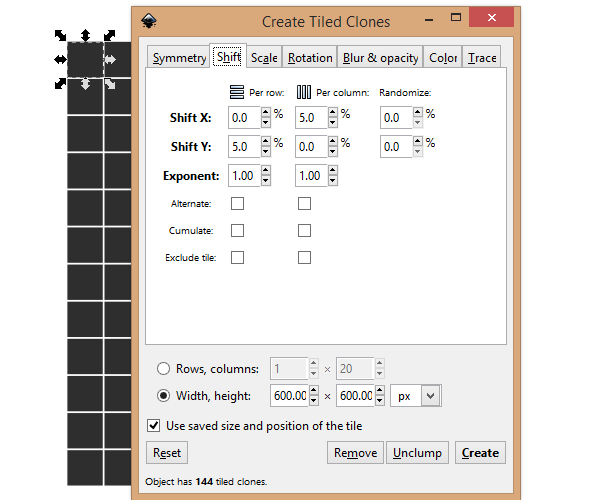
Now I need to use Edit > Clone > Create Tiled Clones to draw a large area of tiled floor.
Step 3
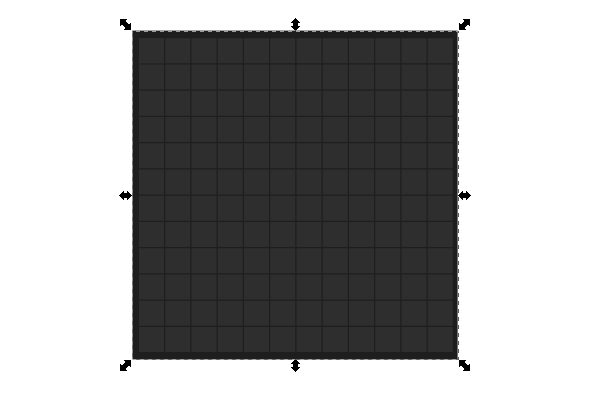
When I have all of my tiles done, go ahead and draw a large square behind them with an even darker color.
Step 4
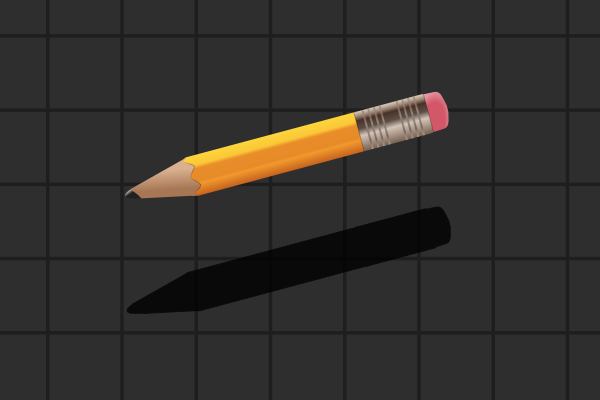
Now that the floor is done, we need a subject to point the spotlight at. I used the famous pencil vector drawing from a while ago. Also copy+paste it and color the entire thing black with about an 80% opacity.
Step 5
Use Align and Distribute to center the dark pencil over the original. I also added a slight drop shadow to the pencil to add some more realism. Now that we have our dark scene, we can proceed with the actual spotlight effect.
2. The Spotlight Effect
Step 1
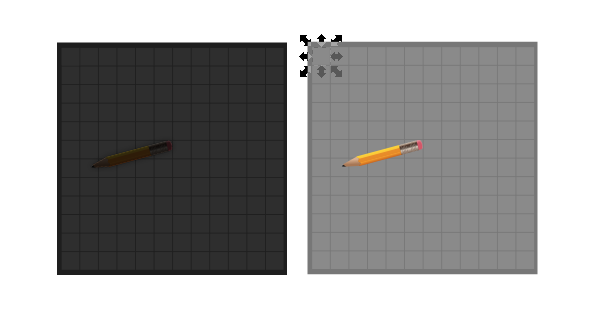
First, Group the entire scene first. Then, copy+paste the group and double-click it to edit. All we need to do is brighten all of the tiles along with the huge square behind them all. Also, remove the black pencil over the original (but put it aside for later).
Finally, use Align and Distribute again to perfectly center these two grouped scene over each other (with the bright one being on top).
Step 2
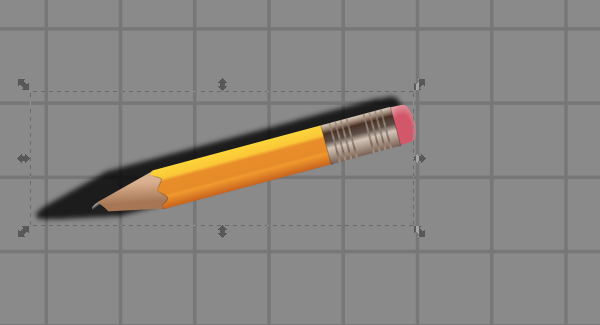
Grab that black pencil and stretch it out a bit, give it a blur of about 2px, and place it as I have below. You can see that this creates a rather hard shadow look which will be perfect for a spotlight.
Step 3
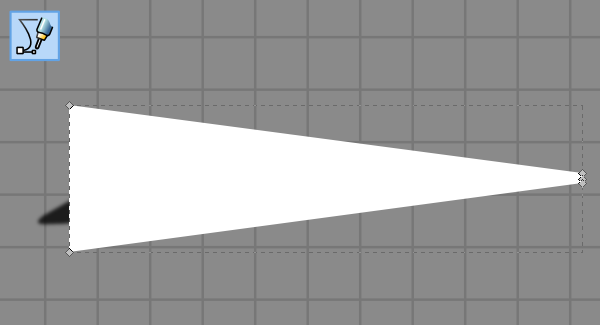
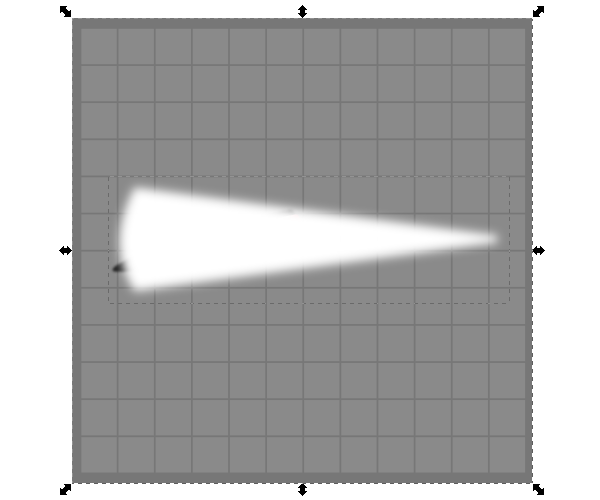
For the actual spotlight shape, just use the Pen tool to draw a long triangle over the scene.
Step 4
Give it a white Fill along with a blur of about 4px. I also curved the edge a bit for some extra awesomeness. When your spotlight shape is all drawn up, select it and shift+click the bright grouped scene. With both of those selected, head up to Object > Mask > Set to make the magic happen.
Step 5
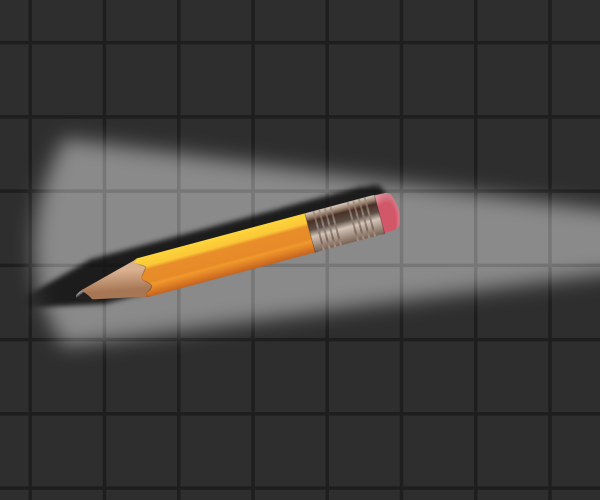
You should have ended up with something like this. Amazing, huh?
3. Some Extra Fun
Step 1
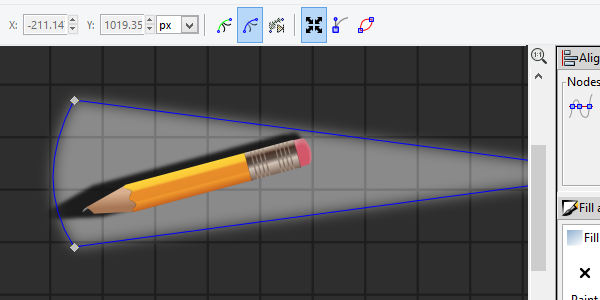
Select the spotlight area with the Nodes tool and enable Show mask and Show transformation handles.
Step 2
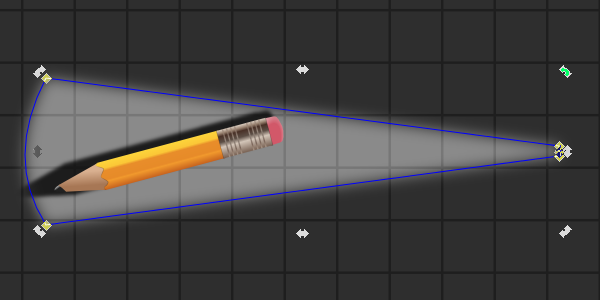
These settings will allow you to select the nodes of the mask along with bringing up those transformation handles.
Step 3
With that in mind, we can have some fun by rotating the spotlight! How incredible is this?
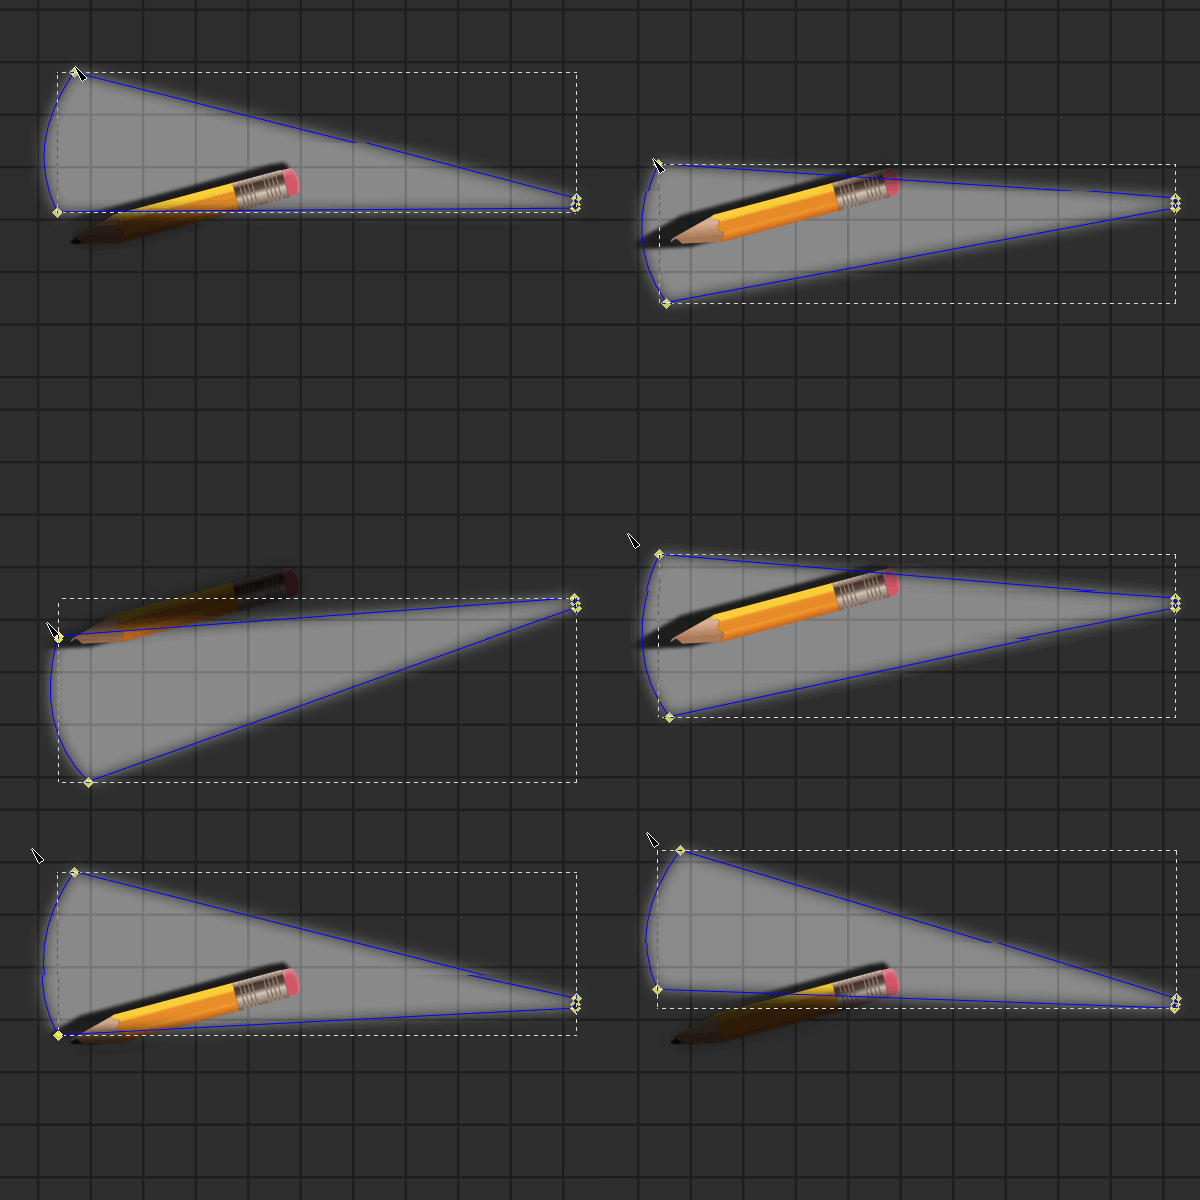
That Spots the End!
Using some incredibly clever Inkscape features, we were able to make an amazing animated spotlight effect. Go ahead and try this out as it’s super fun to play around with. Thanks for reading!