
In this neat tip, we’re going to use the polygon tool to create a shape that will ultimately turn into an awesome pair of wings.
Step 1
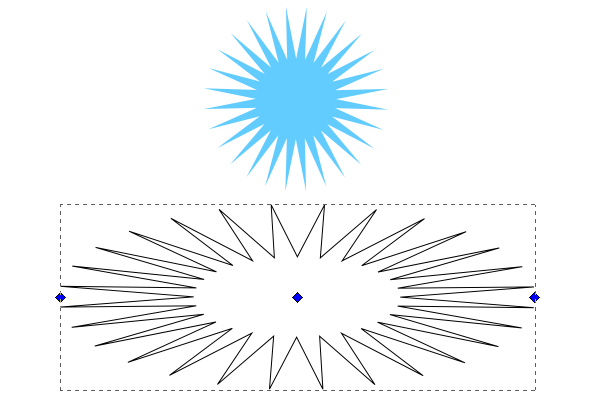
First, grab that Polygon tool and draw a star with 28 corners and a spoke ratio of about 0.433.
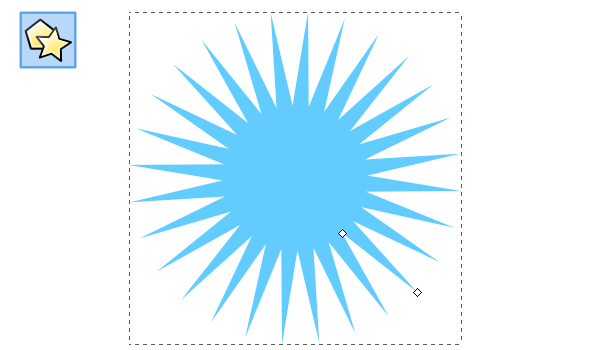
Step 2
With your new star selected, go ahead and Path > Object to Path.
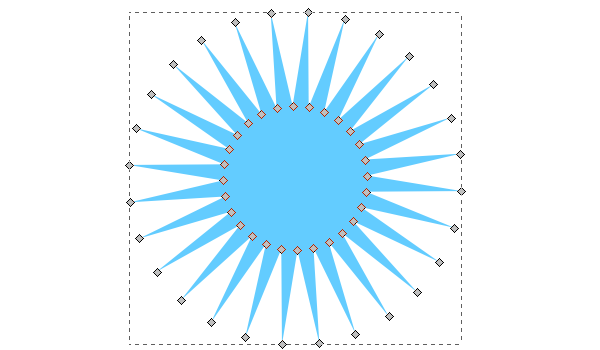
Step 3
Now that we have our polygon drawn, we need to draw a simple line with the Pen tool. Also, get your Nodes tool to bring up the Add node button to create the middle node.
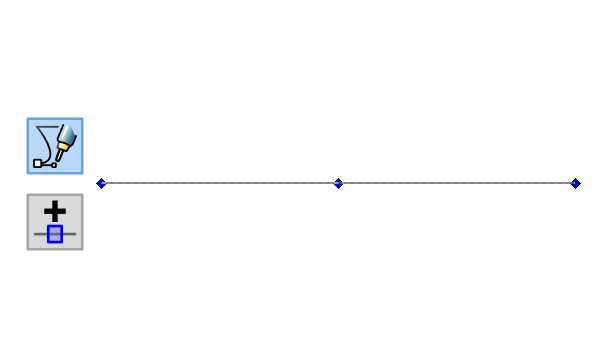
Step 4
With the line still selected, bring up the Path > Path Effect Editor so that we can add the Pattern Along Path effect to our line.
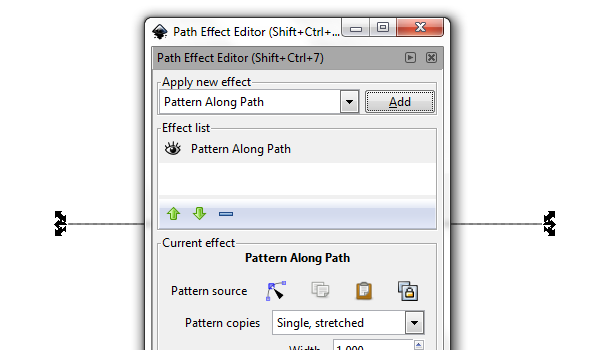
Step 5
Now, select the original star you drew and copy it to your clipboard. After this, you’ll be able to go to Pattern source in the Path Effect Editor and click the Paste icon. You’ll notice that your boring line turns into a stretched out star.
Step 6
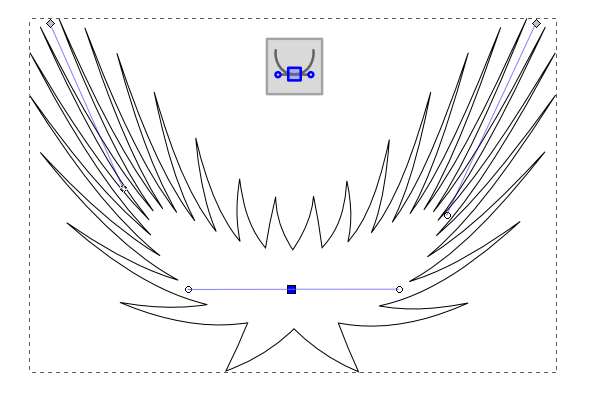
Select that middle node with the Node tool and select Make selected nodes symmetric. Now you can go ahead and drag that middle node down and fine tune the bezier curves to your liking.
Step 7
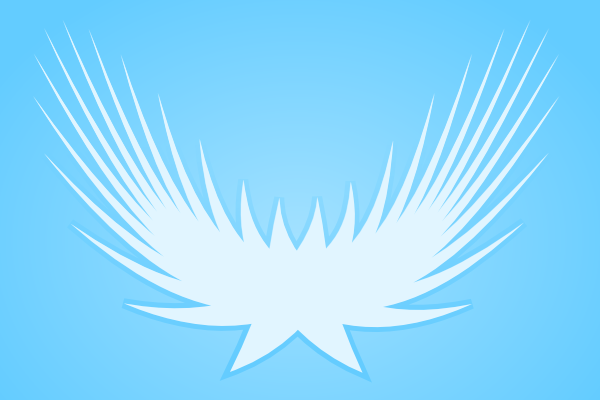
Add just a couple colors here and there and you now have a pretty neat, abstract wings symbol. Awesome stuff.
That’s All!
This is a really neat and quick way to use some of Inkscape’s best features to create a wings symbol. You could probably keep elaborating on this design and draw a bird, or even design a logo like this. Either way, I hope you learned something - thanks for reading!