
If you’ve been wondering how to draw a turkey for Thanksgiving, you’ve come to the right step by step tutorial. Unfortunately, this one doesn’t involve tracing your hand because we’ll be using Inkscape! Let’s get started.
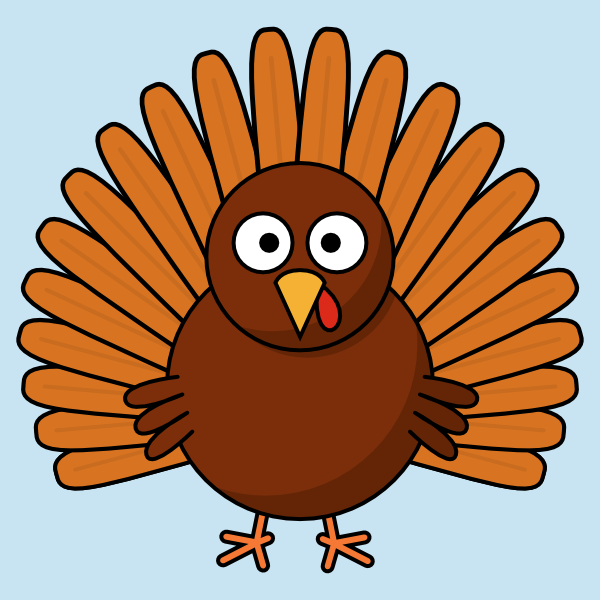
The Final Result
1. Draw the Body
Step 1
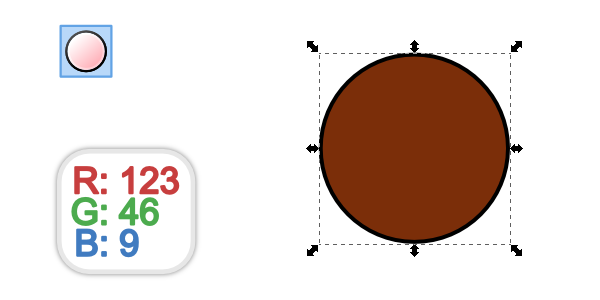
Let’s start by drawing a simple brown circle with the Ellipse tool (hold Control to make it a perfect circle). We’ll also be applying a 6px black Stroke on everything to give it that “cartoony” look.
Step 2
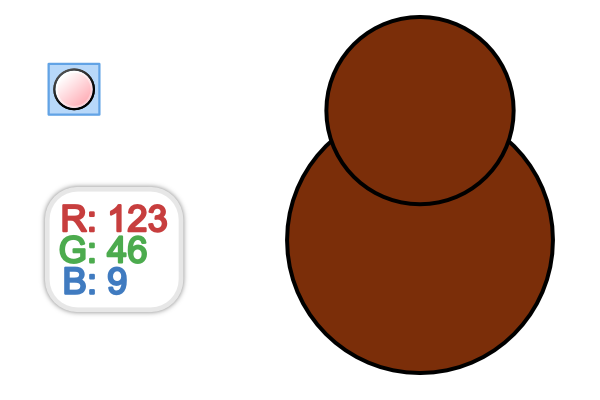
Draw another larger circle below it for the body of the turkey. Use Align and Distribute to keep everything centered.
Step 3
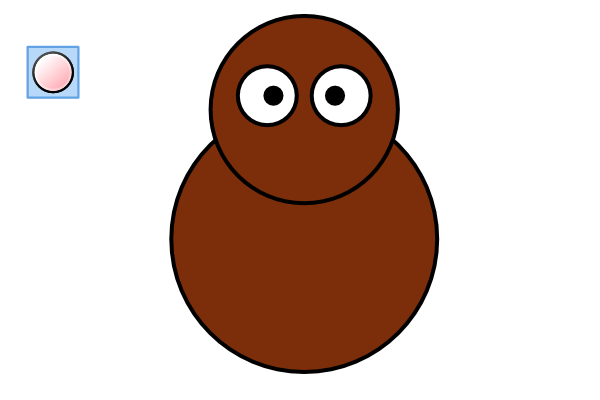
Let’s keep drawing more and more circles for the eyes.
Step 4
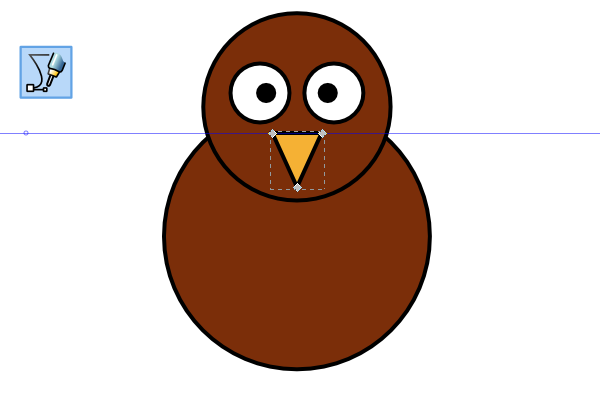
For the beak, all we need is a simple triangle. I ended up dragging a Guide down from the top ruler and using the Pen tool to draw it manually. As you may know, there are many ways to draw triangles in Inkscape.
Step 5
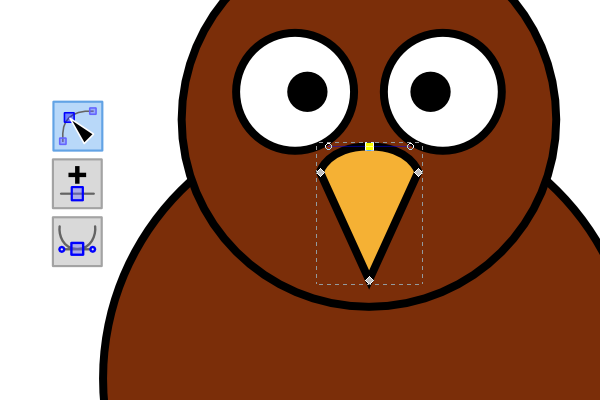
Grab the Nodes tool, select the top 2 nodes, click the Add nodes button, then click the Make nodes symmetric button. Now you can adjust the handles to smooth the beak out a bit.
Step 6
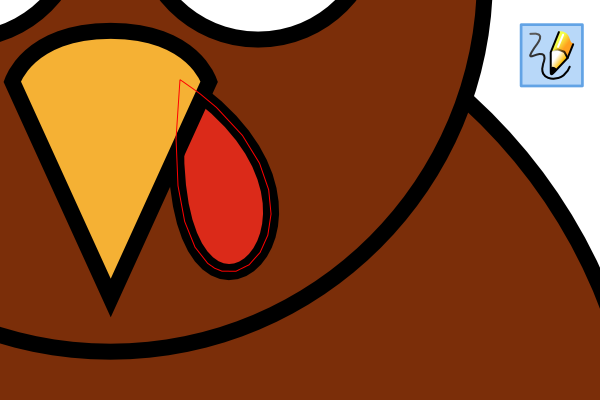
Now it’s time to draw the snood (yeah, that’s what it’s called). This was easy to free hand with the Pencil tool along with the smoothing setting to about 50. Place it behind the beak to finish it up.
2. Draw the Feathers
Step 1
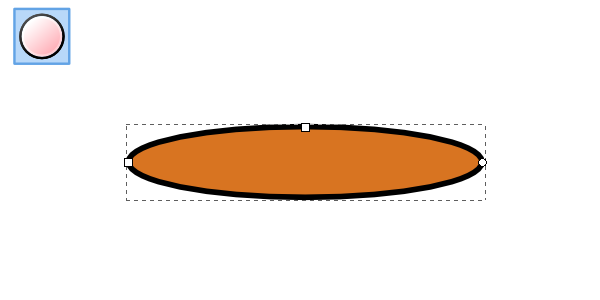
To create the feather shape, start with a long oval. With it still selected, head up to Path > Object to Path.
Step 2
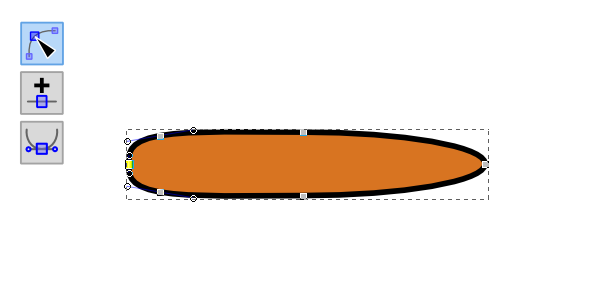
Now we need to use the Nodes tool again to add a couple nodes on one side and make them symmetric.
Step 3
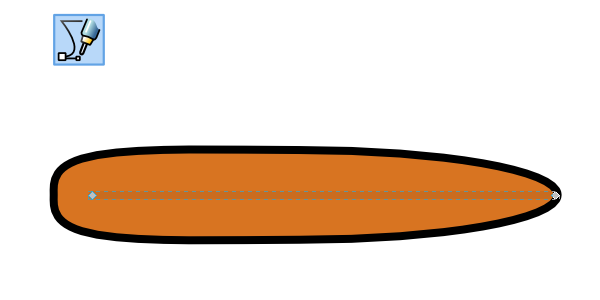
For the finishing touch, use the Pen tool to draw a simple line down the middle of the feather and give it an Opacity of about 8%. Go ahead and group these when you’re finished, but also move the point of rotation to the right side of the feather.
Step 4
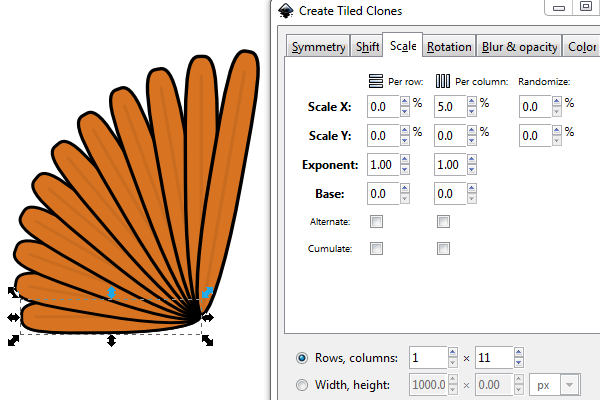
With the feather group selected, head up to Edit > Clone > Create Tiled Clones. Now, change the following settings:
- Shift X Per column to -100%
- Scale X Per column to 5%
- Rotation Angle Per column to 10 degrees.
- Rows, columns to 1 and 11
When the settings are set, click Create to get the result I have below.
Step 5
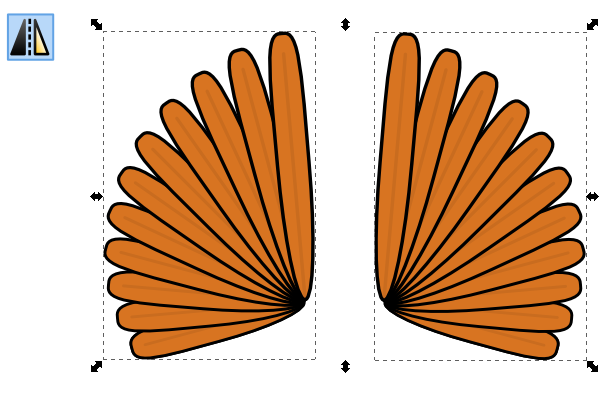
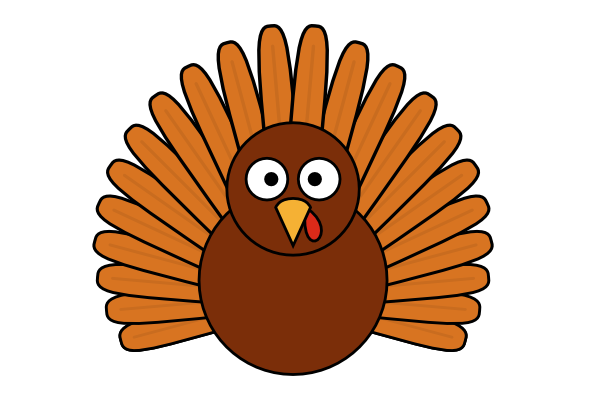
Now listen carefully for this part. Select the bunch of feathers, Control+G to group, click twice to bring up rotation handles, hold Control while rotating to snap the angle, and only rotate it one notch counter-clockwise. Finally, duplicate another group of feathers and flip it horizontal. If all was done correctly, you’ll end up with what I have below.
Step 6
Go ahead position these properly behind the turkey.
3. Tiny Turkey Wings!
Step 1
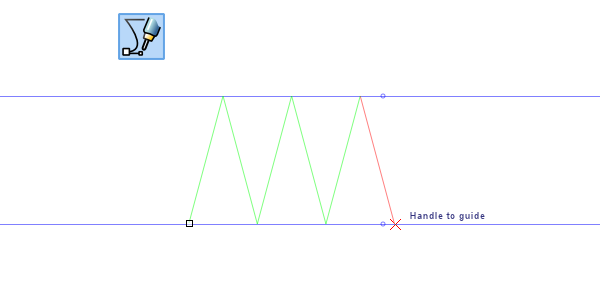
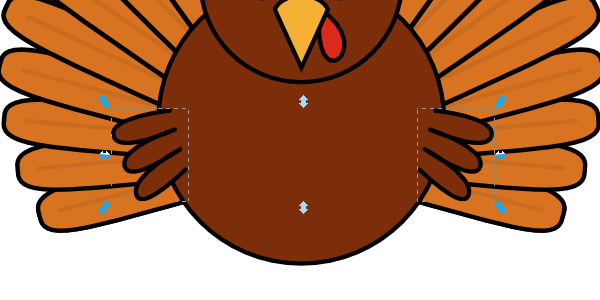
To start the wings, drag a couple Guides from the top ruler like I have below. Next, grab the Pen tool and draw a three point zig-zag type thing.
Step 2
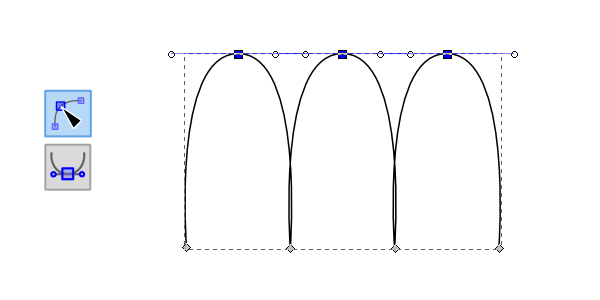
With the Nodes tool, select the top three nodes and Make symmetric.
Step 3
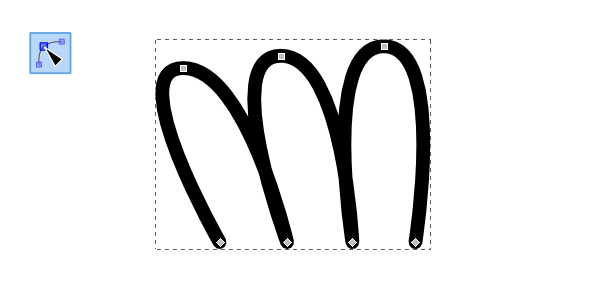
Since we have the basis of a wing, let’s just add the thick stroke and fine tune the nodes.
Step 4
Once we’ve got the shape we want, apply the same brown color, duplicate, flip horizontally, and position the wings! Again, Align and Distribute will be your best friend for keeping everything centered.
4. Add Some Feet
Step 1
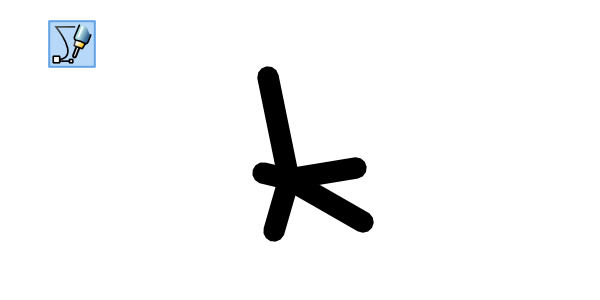
For the feet, simply use the Pen tool and draw a few lines to make that signature “chicken foot” shape. It doesn’t matter if they’re joined or anything, because we’re going to select these lines and head up to Path > Combine. After this, set the Stroke to about 10px, then select Path > Stroke to Path.
Step 2
Now we can set the fill to some orange color to match the turkey, then set the Stroke to 6px. We’ll be needing two feet of course, so duplicate and flip as usual.

Step 3
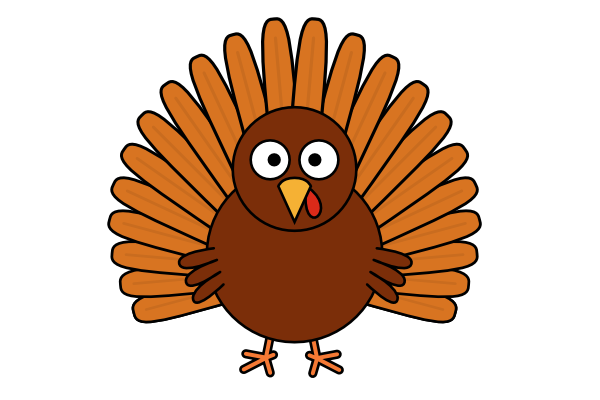
Finally, put those feet in place!
5. Final Details
Step 1
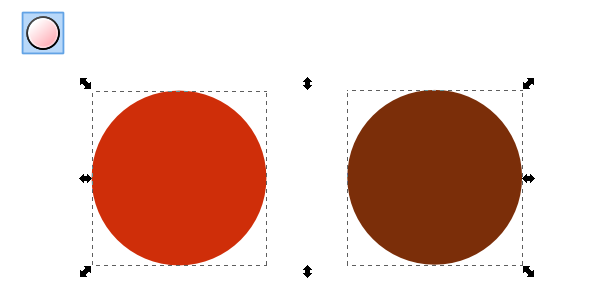
We need to do some shading to finish up this turkey! To start, simply draw a couple of circles (color doesn’t matter).
Step 2
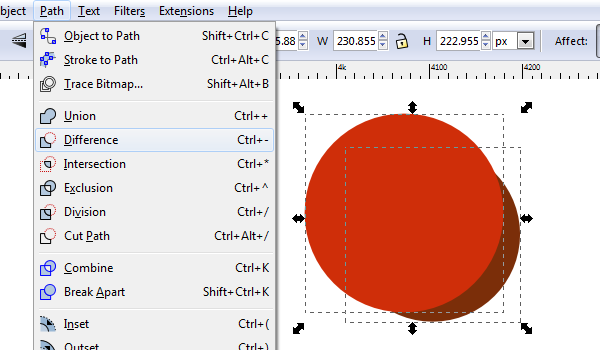
What we need is a circular wedge to use for shading, so grab one of your circles and enlarge it/position it like I have below. Select both of the circles and head up to Path > Difference.
Step 3
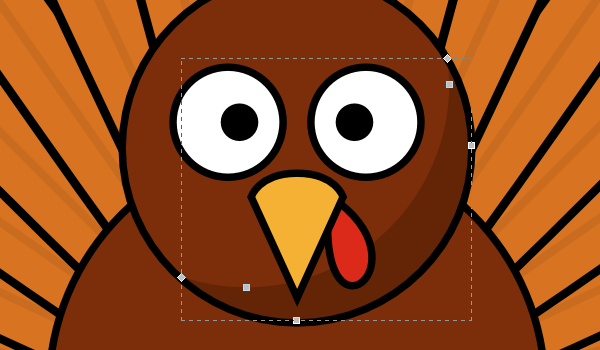
The shape you’re left with is a wedge that can fit right on our turkeys head. Just give it a black fill with an Opacity of about 18%. Don’t forget to position it behind the turkey beak and snood (I’m loving this word).
Step 4
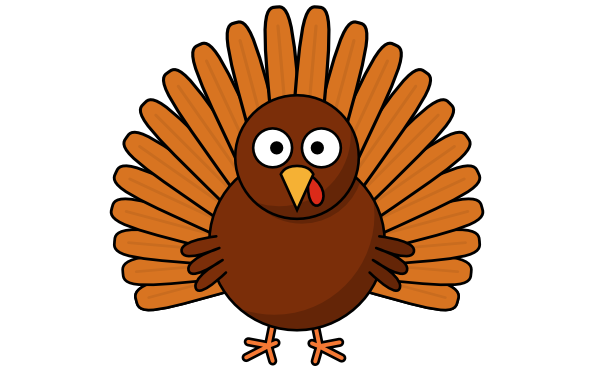
Continue to add another shading wedge to the body as well (I also changed the color of the turkey’s left wing to match the shadow).
Step 5
All that’s left to do is add a background! This turkey looks good, huh?
There’s Your Turkey!
This tutorial is part of 5 Easy Holiday Drawing Tutorials Using Inkscape
This turned out to be a cute piece of thanksgiving clip art that can be a part of some sort of decoration. Now you know how to draw a turkey in Inkscape! Thanks for reading