
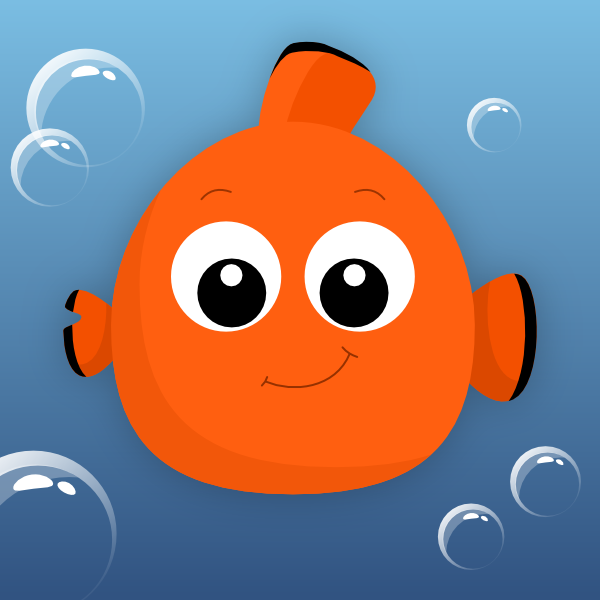
Let’s go over step by step on how to draw that cute orange fish we’ve all grown to love.
The Final Result
1. Drawing Nemo’s Head
Step 1
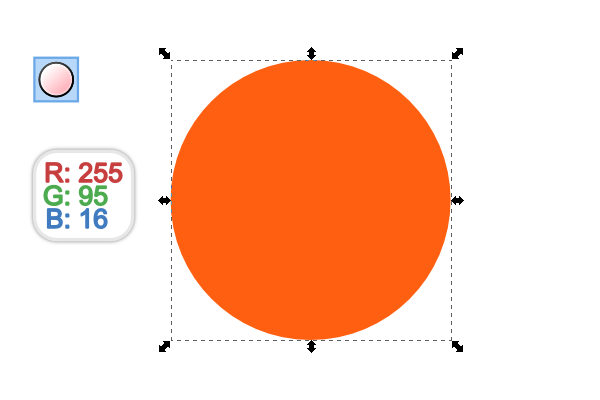
To start, let’s grab the Ellipse tool and draw a perfect, orange circle.
Step 2
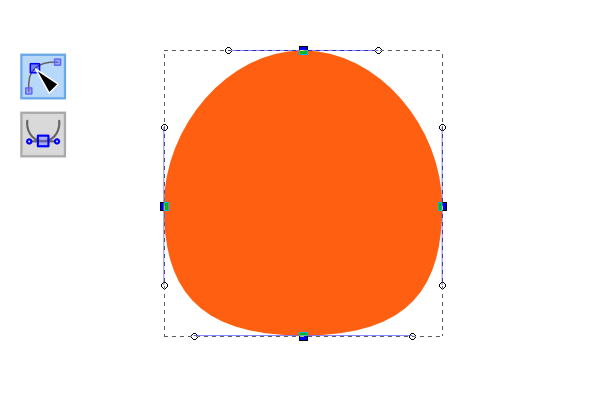
With the circle selected, head up to Path > Object to Path so we can adjust the nodes. Use the Nodes tool to fine tune the shape to what I have below.
Step 3
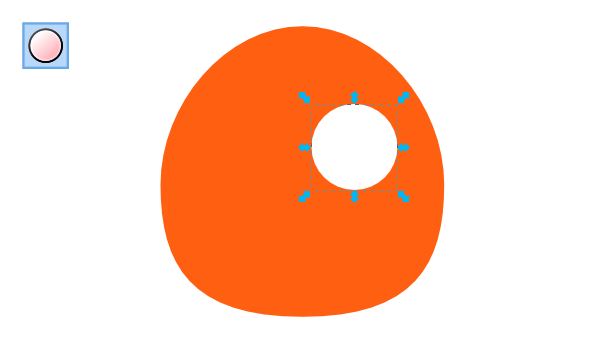
Now, let’s draw another perfect circle and color it white as we’ll be drawing the eyes with this.
Step 4
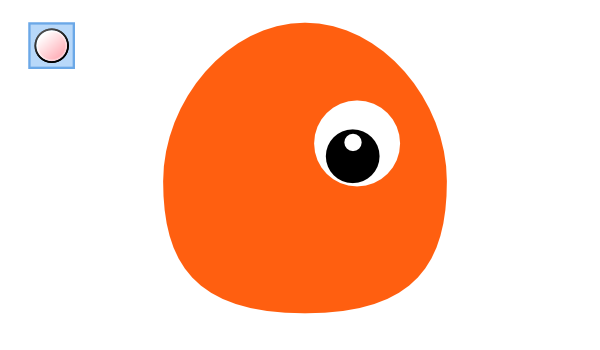
Continue to draw another black circle, along with another white circle. Position them accordingly to get that signature cartoon eye.
Step 5
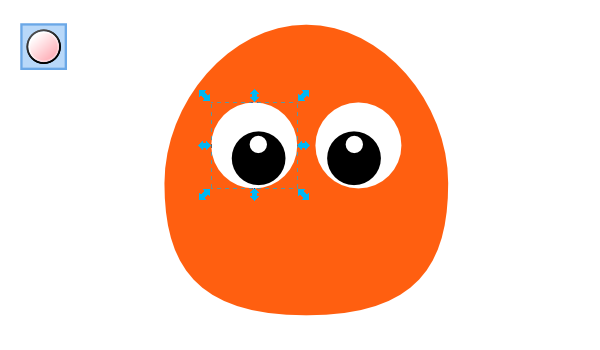
Once you’ve finished one eye, go ahead and Object > Group, then duplicate it for the second eye. You can also use Object > Align and Distribute to align everything.
Step 6
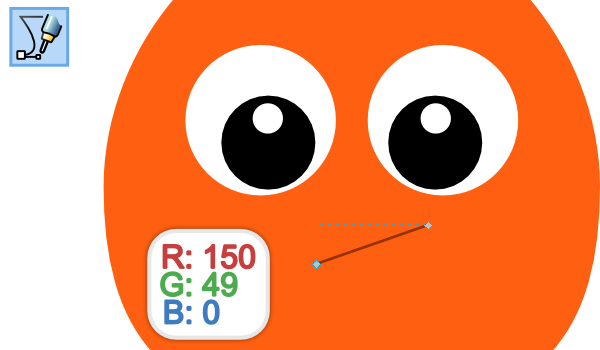
For the mouth, let’s just use the Pen tool and draw a simple line with a 2px Stroke.
Step 7
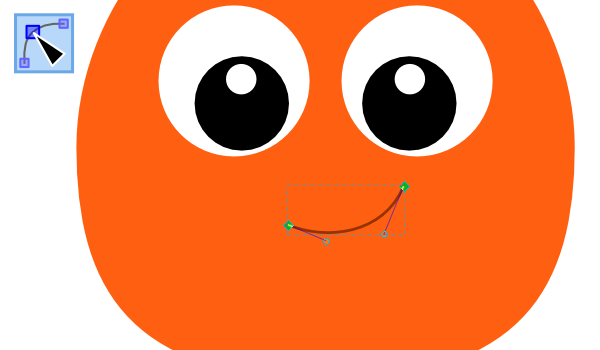
Then we can use the Nodes tool to curve that line into a cute smile.
Step 8
To finish it up, let’s put two round lines on each end of the smile.
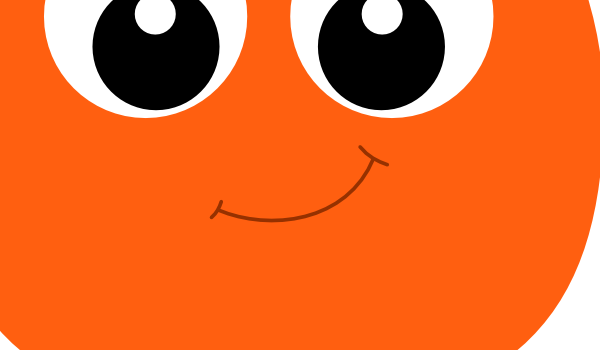
Step 9
While we’re at it, let’s use this same line style to draw a couple eyebrows.
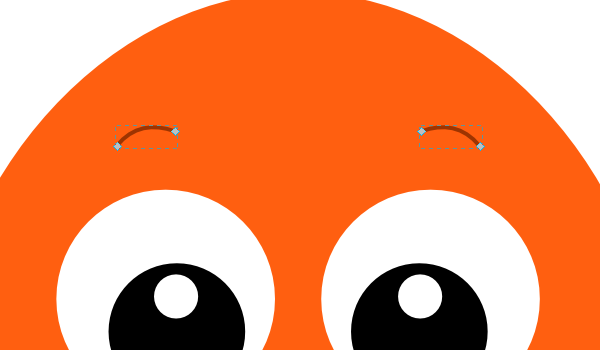
2. Drawing Nemo’s Side Fins
Step 1
To start drawing fins, we’re going to use the Pen tool to draw a shape similar to the one below.
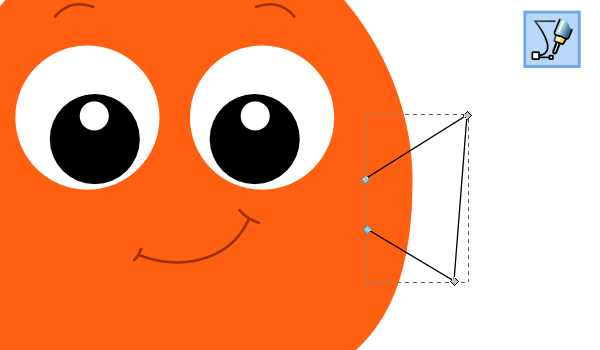
Step 2
Now we can use the Nodes tool and round out those corners.
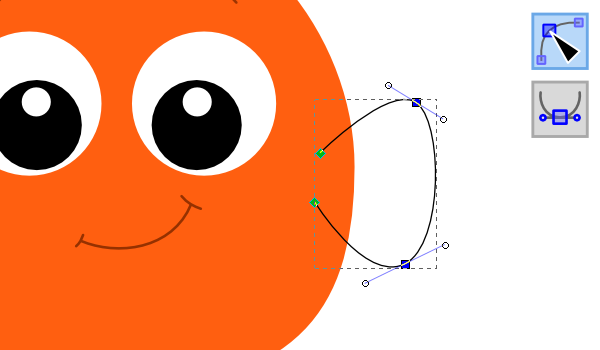
Step 3
When your fin is perfect, go ahead and give it a slightly darker orange color and set it behind the head.
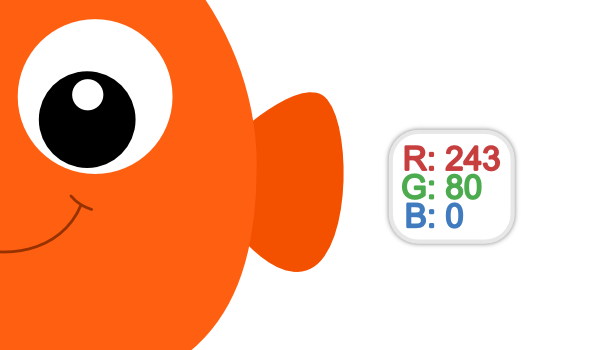
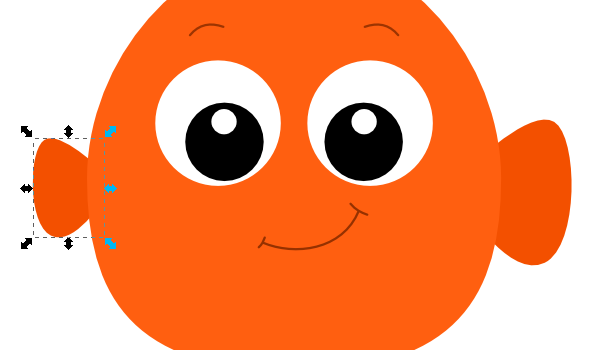
Step 4
And of course, we need to duplicate this fin, flip it horizontally, and shrink it down a bit.
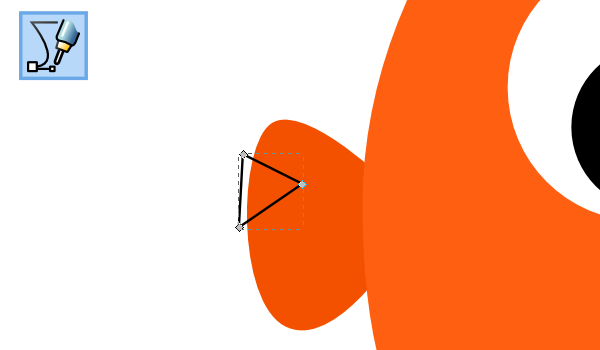
Step 5
Now we need to embark on the unfortunate task of chopping up Nemo’s poor little fin. To start, just draw a triangle over the area we’re going to cut.
Step 6
With both the triangle and the fin selected, head up to Path > Difference to make the incision.
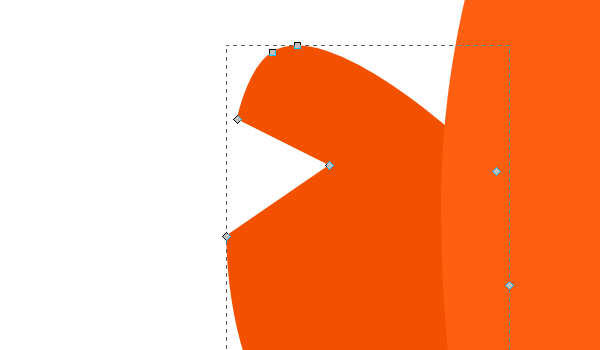
Step 7
Now you can do some finishing touches by rounding some of the edges.

3. Drawing Nemo’s Top Fin
Step 1
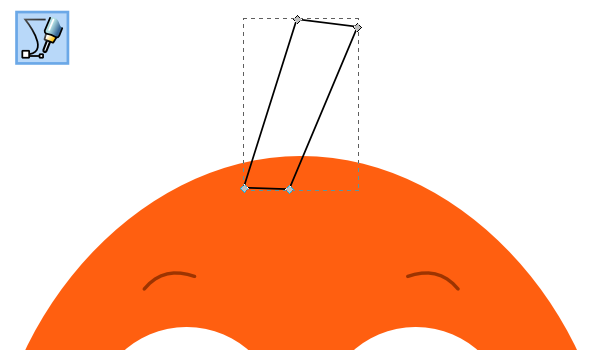
To start drawing the top fin, let’s grab the Pen tool and draw a slanted rectangle.
Step 2
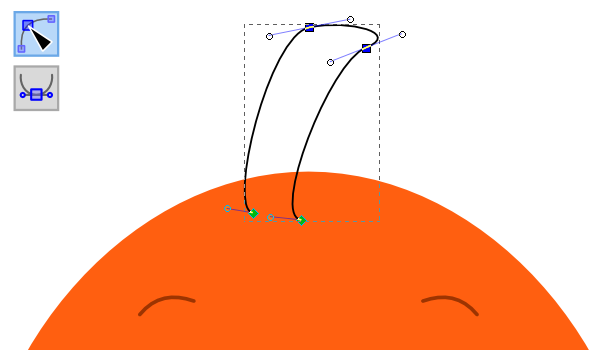
Of course, we’ll need to smooth things out a bit again.
Step 3
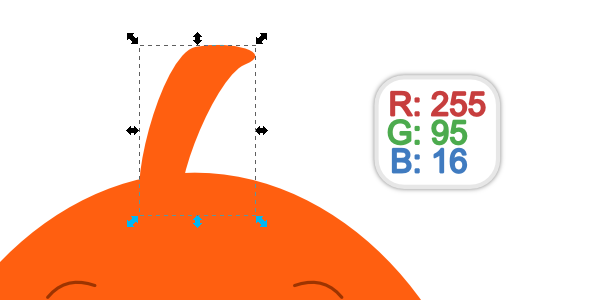
And let’s give it that same color orange we started with.
Step 4
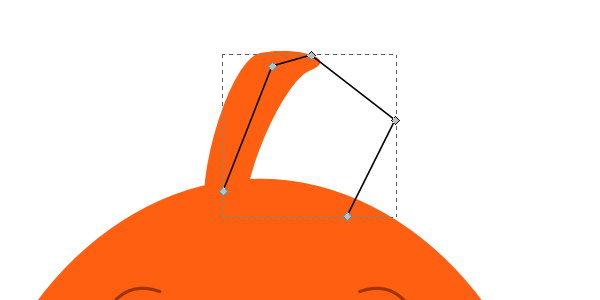
We’re also going to want to add an addition to the top fin.
Step 5
And, yes, let’s round yet another object.
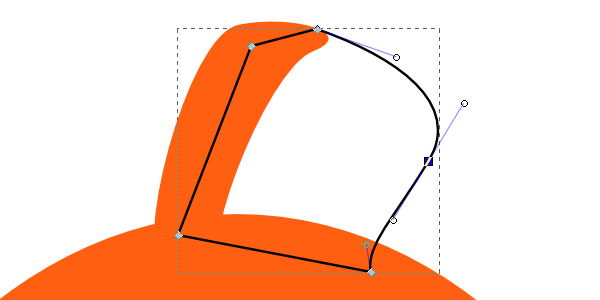
Step 6
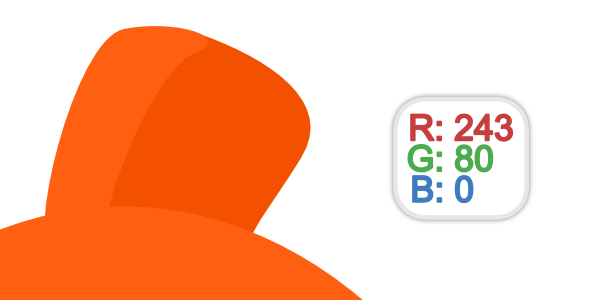
Finally, make it a slightly darker orange and place it behind the first part of the fin.
4. The Finishing Touches
Step 1
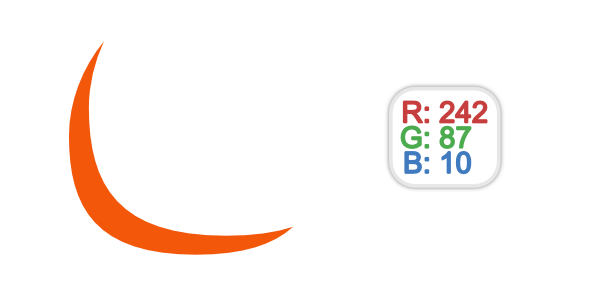
To create some shading, let’s duplicate the original head object.
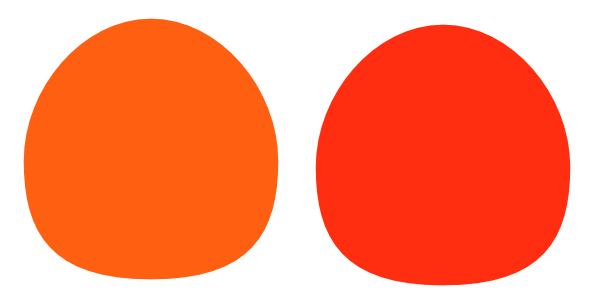
Step 2
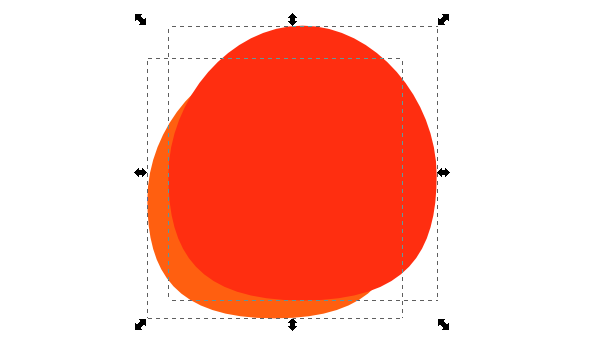
Next, you’ll want to position one over the other and stretch it out a bit.
Step 3
With both of those shapes selected, head up to Path > Difference. You’ll end up with a nice cutout shape like I have below.
Step 4
Go ahead and put this shading shape into position. Align and Distribute will be your best friend for keeping your shading shapes aligned.
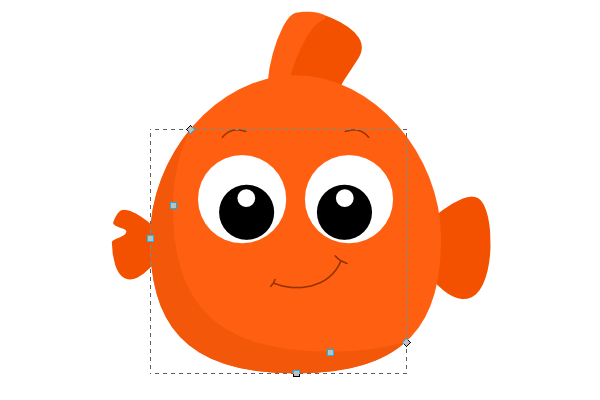
Step 5
Repeat this process to get the desired shading for your fins also.
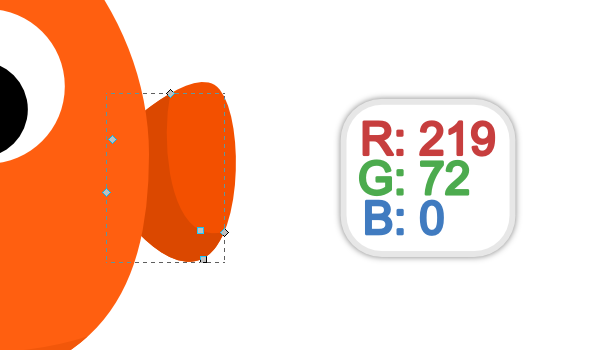
Step 6
Don’t forget his tiny fin!
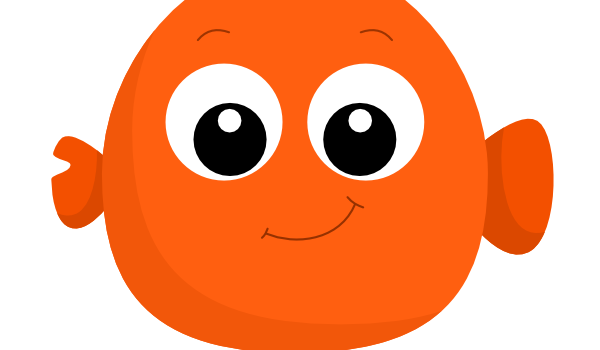
Step 7
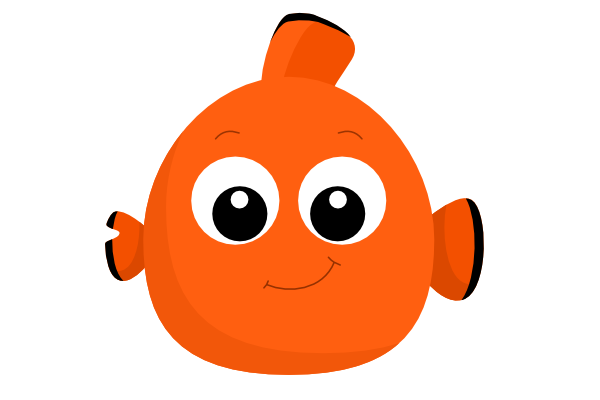
I also added some black tips on his fins by using the same Path > Difference method for each fin.
Step 8
Finally, all that’s left to do is create some sort of background to finish it up! He’s so darn cute, I can’t stand it.
That Fin-ishes Things Up!
This was such a fun drawing to do because it’s so simple and adorable. We went over basic Inkscape functions and shapes to create a cartoon version of Nemo, and it turned out pretty well. Thanks for reading!