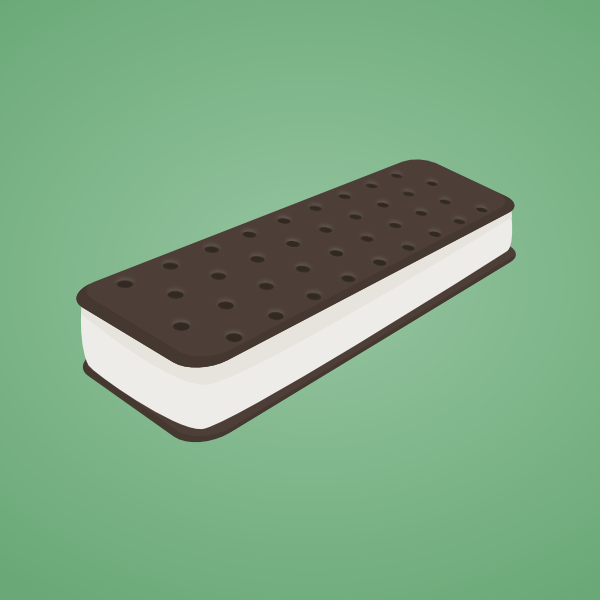
Summer’s here and that means ice cream sandwiches are too. Since this simple invention is so delicious, I figured it would be best to draw an ice cream sandwich in Inkscape. We’ll be using a lot of neat Inkscape features, such as perspective and create tiled clones. Let’s get started!
The Final Result
1. Draw The Pieces
Step 1
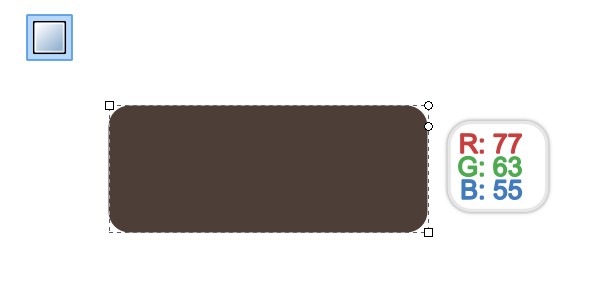
Since ice cream sandwiches are essentially made up of only a few pieces, let’s start with that. Go ahead and draw a rectangle about 455px by 180px, along with rounded corners of 30px.
Step 2
Go ahead and copy+paste another one. Also, make sure you Path > Object to Path both of these.

Step 3
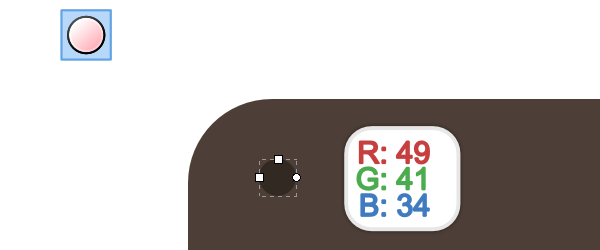
To make our sandwich more legitimate, let’s also add those little holes that reek of mass production. Start by drawing just a tiny circle of about 13px. Once again, do a Path > Object to Path on this circle.
Step 4
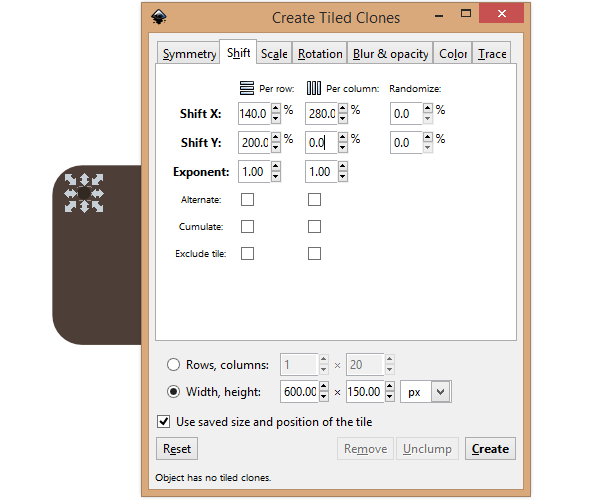
With the circle still selected, go to Edit > Clone > Create Tiled Clones. When the dialog box pops up, change your settings to how I have them below (everything else stays standard). When you’re done, go ahead and click Create.
Step 5
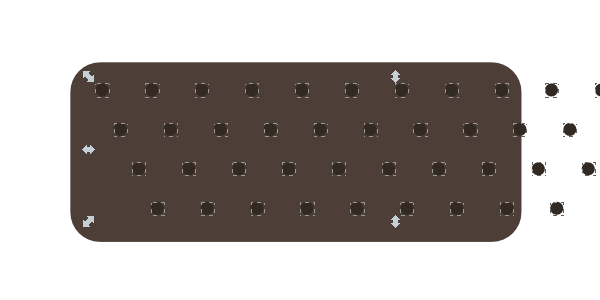
You should have ended up with something like this. Go ahead and select all of the dots and head up to Edit > Clone > Unlink Clone so that we can edit these.
Step 6
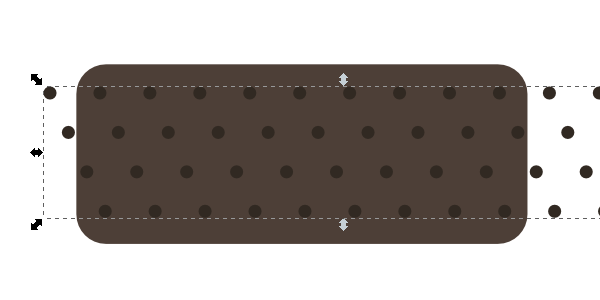
Keeping them selected, go up to Path > Combine. Now position the dots as I have below.
Step 7
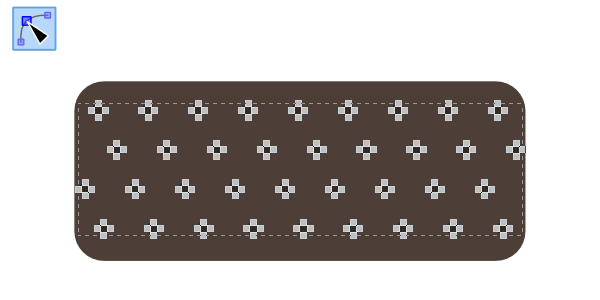
Now you can grab the Nodes tool and delete the strays.
2. Applying Perspective
Step 1
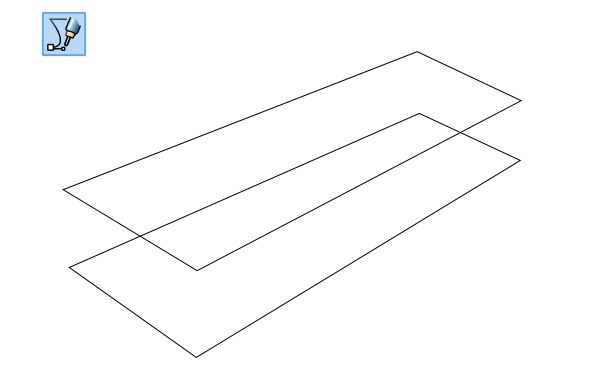
Using the Pen tool, draw 2 perspective quadrilaterals that make up a rough outline of the ice cream sandwich. If you need help on perspective, check this out.
Step 2
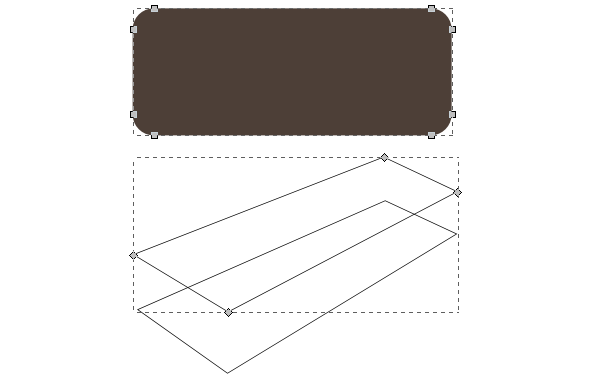
Select one of the sandwich pieces along with the top perspective quadrilateral. Then go up to Extensions > Modify Path > Perspective.
Step 3
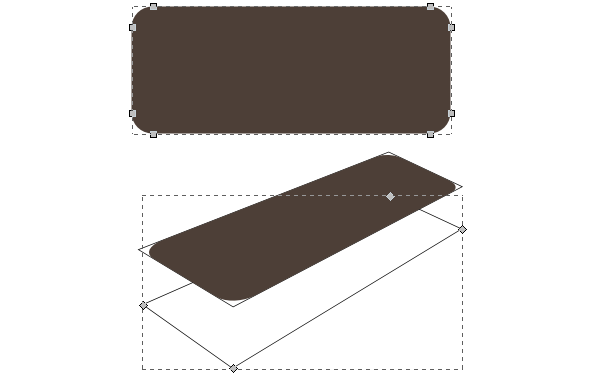
Repeat with the bottom part of the sandwich.
Step 4
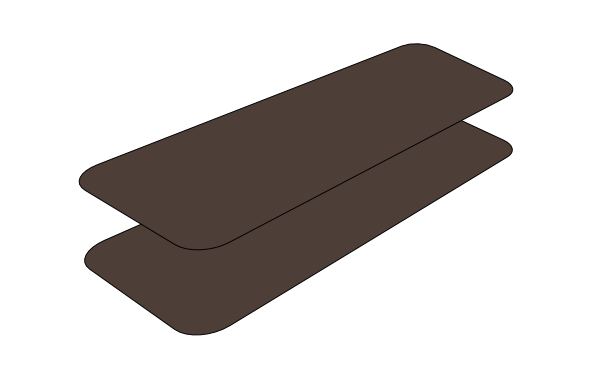
You should have ended up with something like this.
Step 5
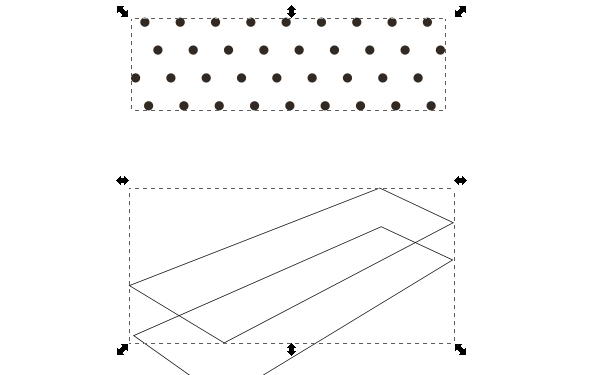
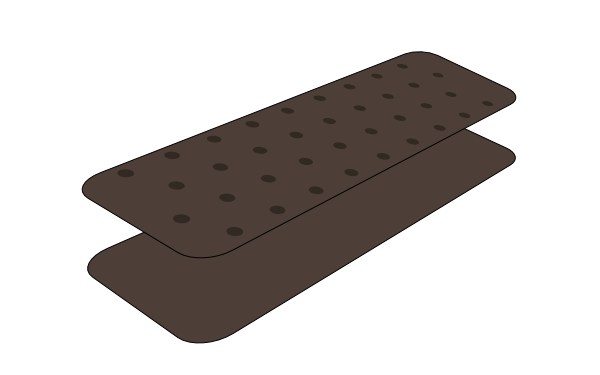
Let’s not forget the factory dots! Since we Combined these earlier, we can essentially apply perspective to multiple paths. Go ahead and do what we’ve been doing with our selection of dots.
Step 6
And here we go! I had to adjust the size and position a bit, but it overall fit very nicely.
Step 7
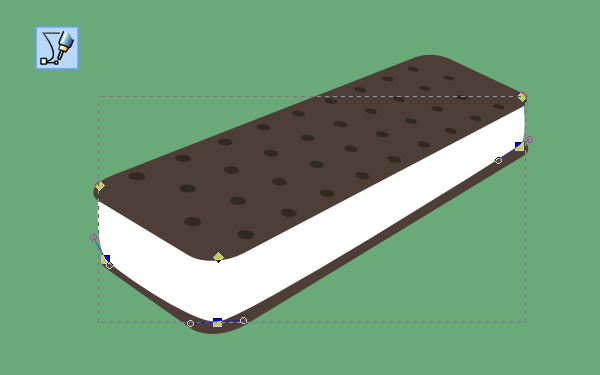
Now it’s time for the easy (and delicious) part - the ice cream filling! Just use the Pen tool to draw a shape like I have below. I used the Nodes tool also to round up some of the corners, fine tuning, etc.
3. Final Touches
Step 1
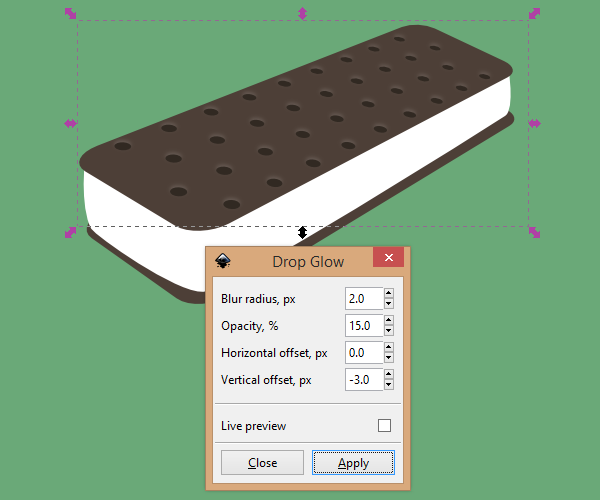
For a little depth effect, select our bunch of dots and head up to Filters > Shadows and Glows > Drop Glow. Go ahead and set the settings as I have below and click Apply.
Step 2
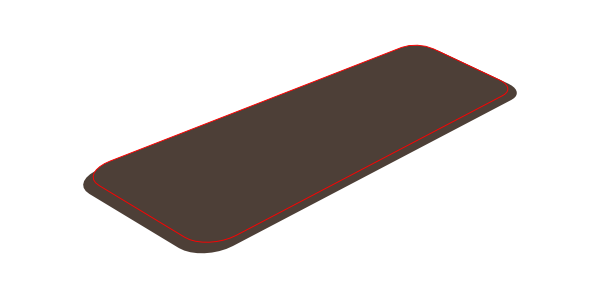
For some additional shading on the sandwich parts themselves, we’ll need to create some new shapes. Starting with the top piece, copy+paste 2 of them and shrink one of them over the other. When in position, select them both and head up to Path > Difference.
Step 3
Go ahead and position the new shading shape and darken the brown just a tad.
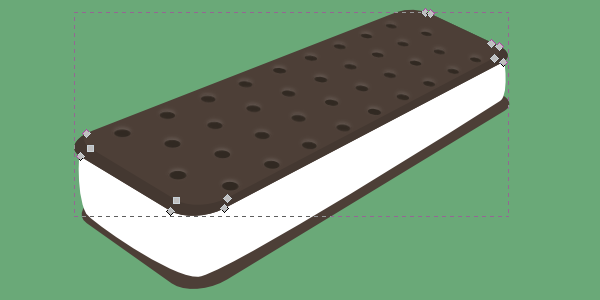
Step 4
Repeat this process for the bottom piece also.
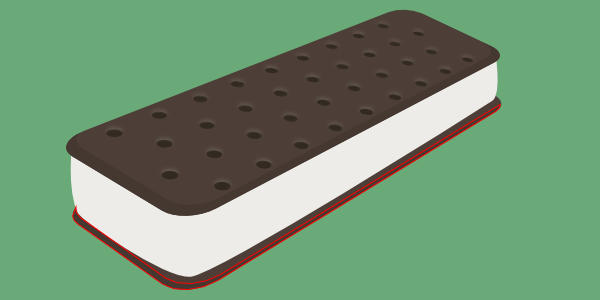
Step 5
And one more time for the ice cream shape.
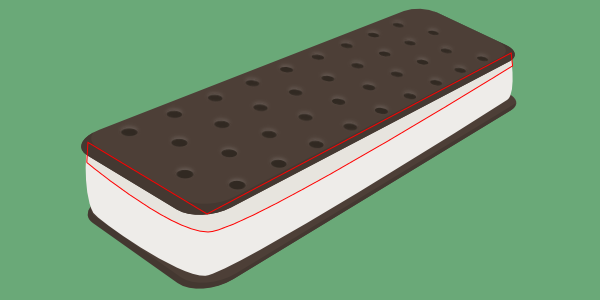
Step 6
And there’s our ice cream sandwich drawing.
That Should Do It!
Using Inkscape’s awesome perspective and incredible create tiled clones, we were able to create a decent looking ice cream sandwich. Let’s just hope that this ice cream sandwich actually melts! Thanks for reading.