Inkscape’s Trace Bitmap feature is a very cool and fun way to convert physical drawings, clip art, or even photos into full vector graphics. Let’s go over how to vectorize a photo in Inkscape!
Step 1
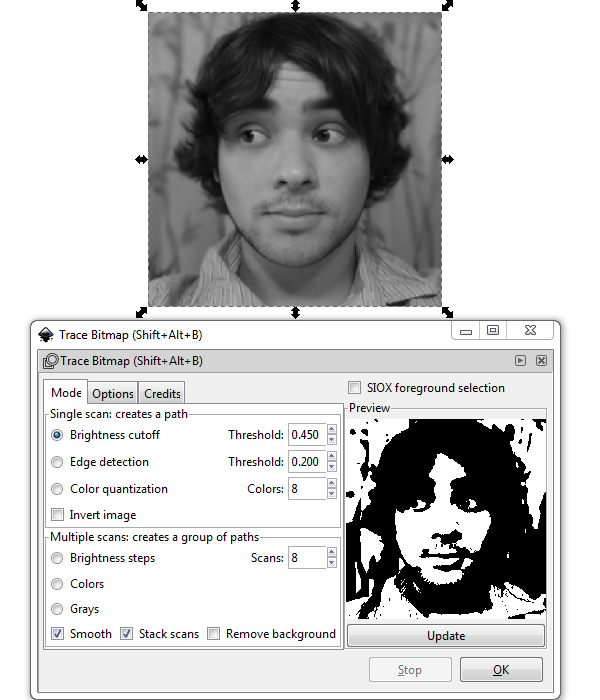
First off, we need a photo to work with. I conveniently had this small photo of my face nearby, so I just went ahead and dragged it into Inkscape. Now, select the photo and head up to Path > Trace Bitmap to bring up the menu. Let’s do a simple Brightness cutoff 0.450 and click OK.
Step 2
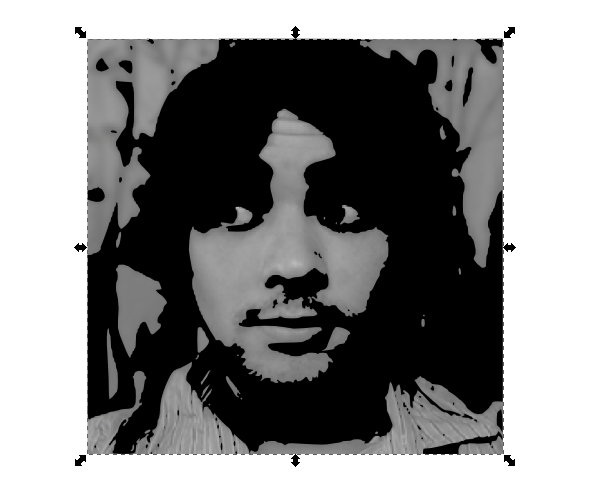
You should end up with the generated vector laying on top of the original photo.
Step 3
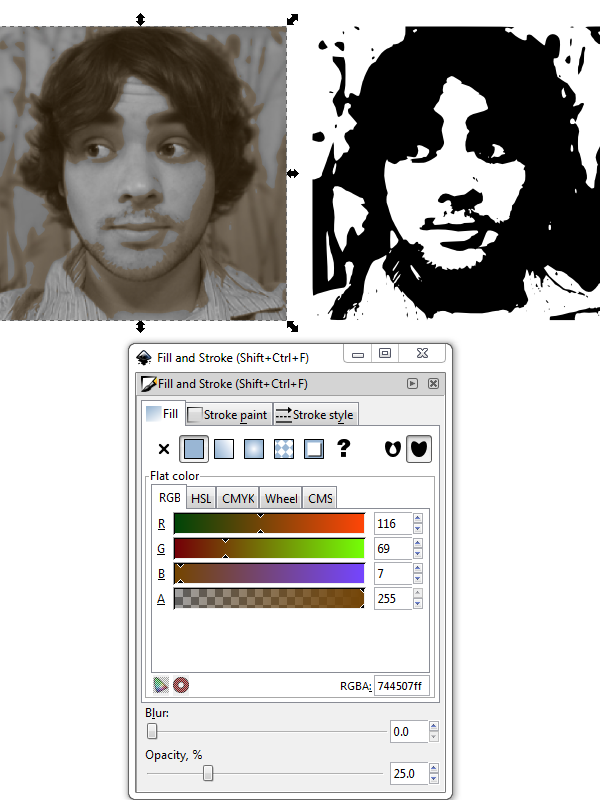
At this point, we can just leave the tracing over the original photo or drag it off. Below, the left one is a transparent orange hue applied to the vector to give off a neat effect. To the right is just the traced vector.
Step 4
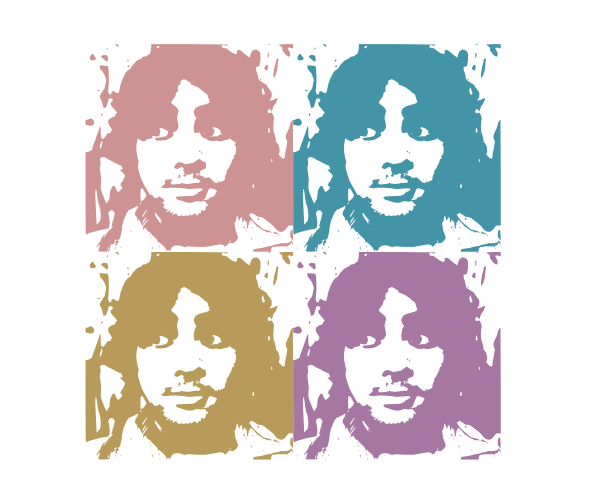
The design possibilities are endless! Let’s go a little psychedelic.
Step 5
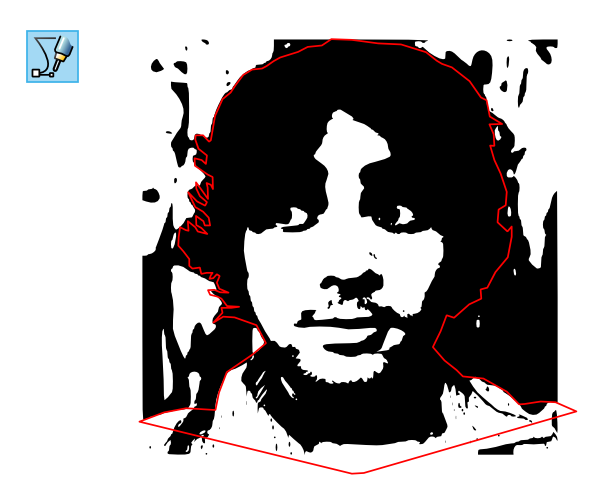
We can even draw a cutout path with the Pen tool to use as a clipping method. I’m going to select both the line and the tracing, then head up to Object > Clip > Set.
Step 6
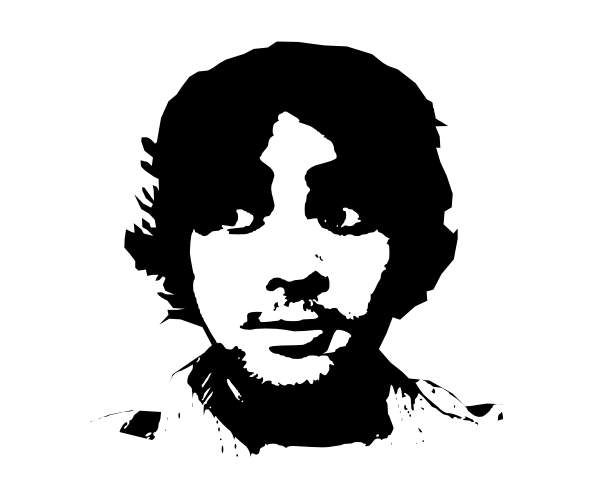
Then we end up with a nice, clean cut portrait of my traced face. Awesome stuff!
That’s How to Trace!
This was part of 5 Essential Inkscape Tips and Tricks.
This quick tutorial could’ve been massive given the endless options and possibilities with tracing design, but I just wanted to get the basic idea and method across. Go ahead and play around with this one and let’s see what you can come up with. Thanks for reading!