It’s every graphic designer’s dream to have a ketchup filter on hand at all times, isn’t it? That’s exactly why we’ll be creating easy to use ketchup in this custom Inkscape filter tutorial. We’ll even be able to create a ketchup text effect!
1. The Filter Editor
Step 1
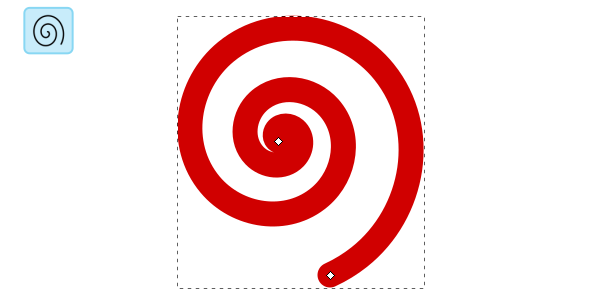
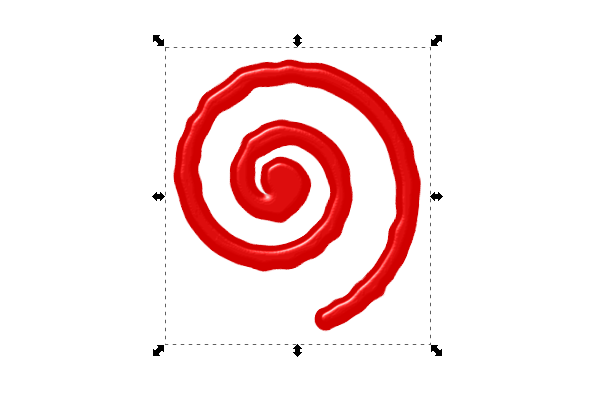
Before we do anything, we need to create an object so we have something to apply our filter to. I’ve made a thick, red spiral below.
Step 2
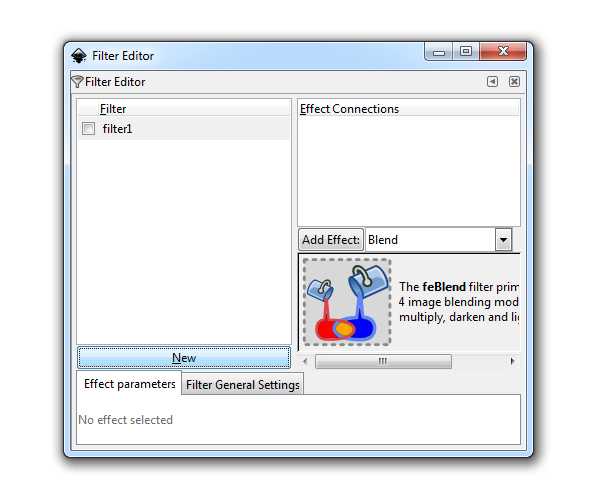
At first look, Inkscape’s Filter > Filter Editor can seem pretty overwhelming. Well, that’s because it is. To start, select New to create a new filter. You can right-click the “filter1” to rename it, also.
Step 3
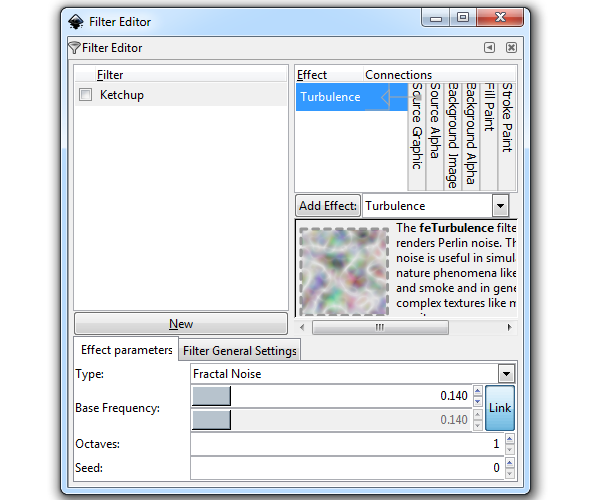
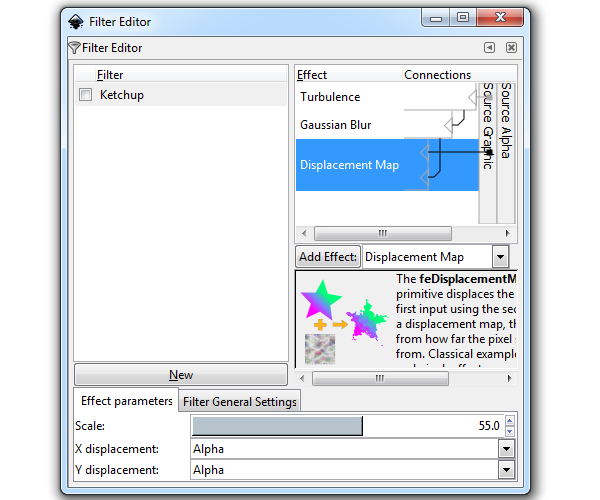
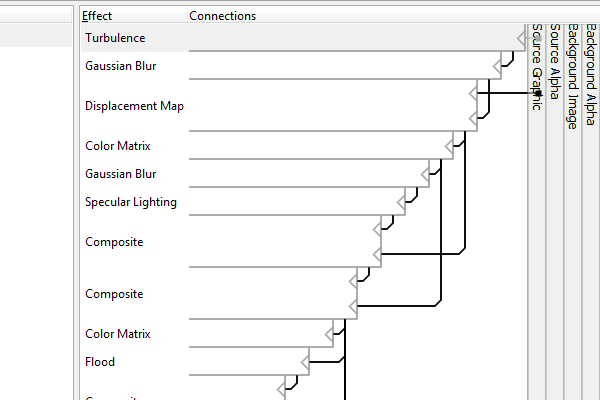
What we’ll be doing next is selecting a series of different effects from the drop down menu. The first effect we’ll add will be Turbulance, which is easily done by selecting Add Effect. At the bottom of the window, you’ll see the Effect parameters tab. As I add these effects, make sure your parameter settings are the same as shown below.
Step 4
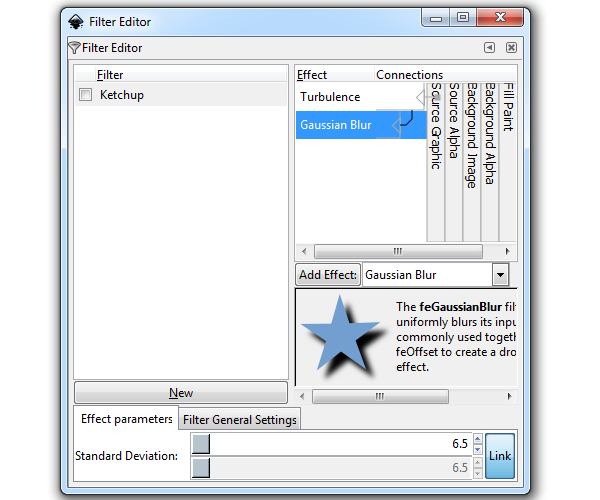
Next up, we’ll add Gaussian Blur. Again, take note of my Effect parameters.
Step 5
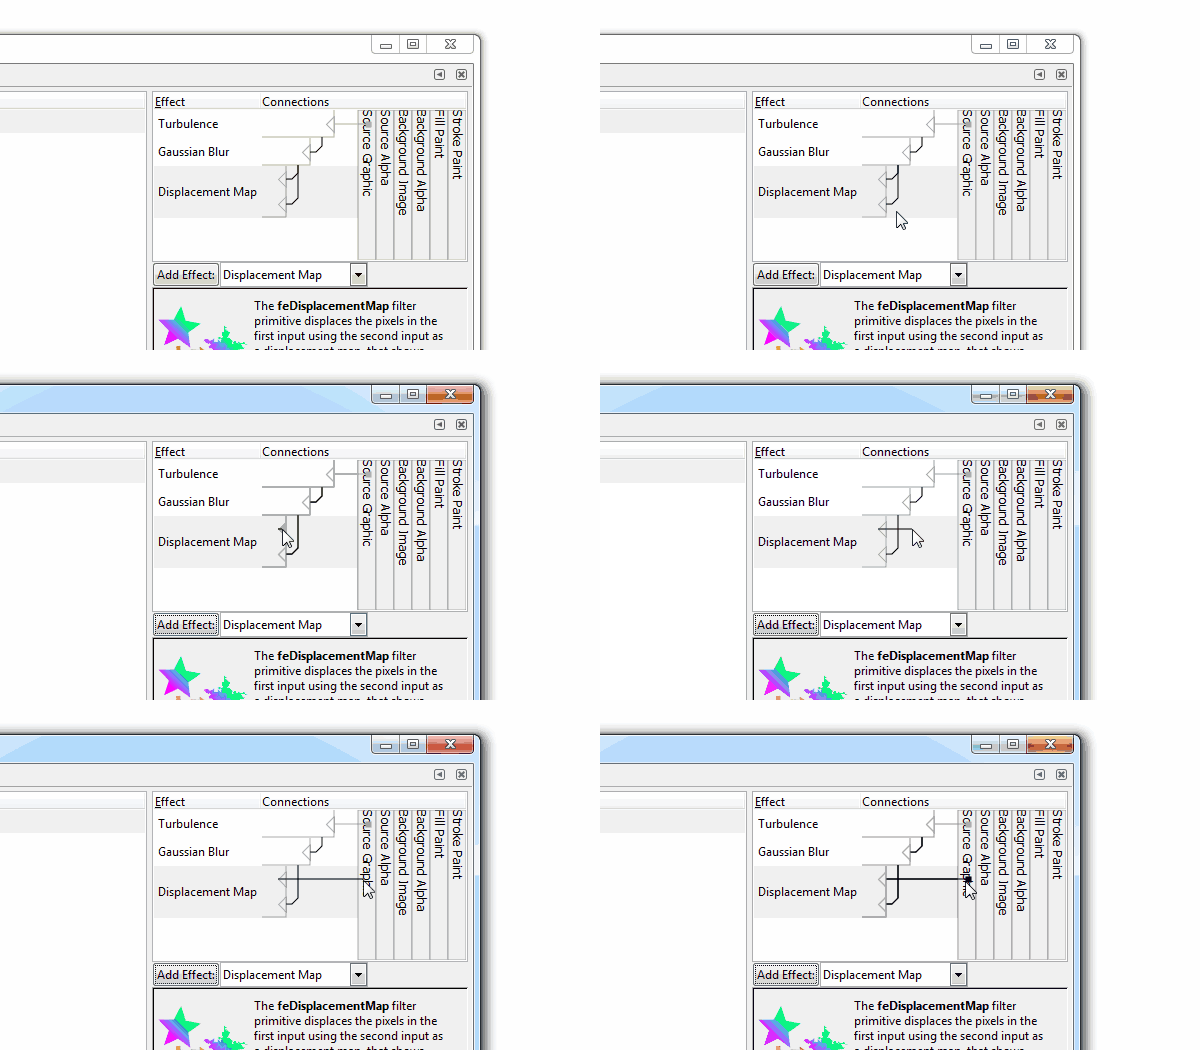
Our last effect will be Displacement Map. One extra step will be needed here, though. Notice how the Displacement Map effect has two left-pointing arrows? We need to drag the top arrow to Source Graphic. Refer to the next step for an animated example.
Step 6
Below, you’ll see that I simply click and hold the top arrow and then drag it over to the Source Graphic tab.
Step 7
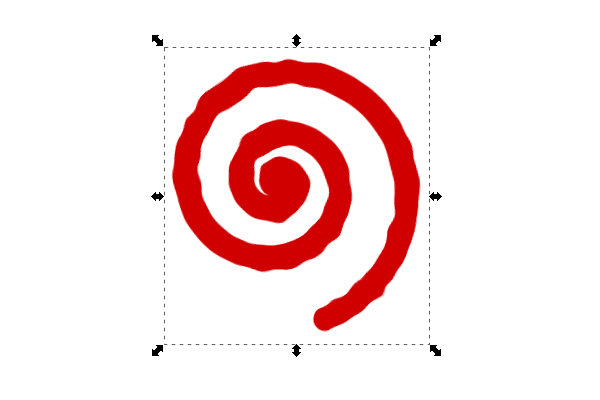
Now when we apply this effect to an object, this is what you should get. A smooth, yet jagged filter that should begin to resemble ketchup. We need more, though.
2. Additional Effects
Step 1
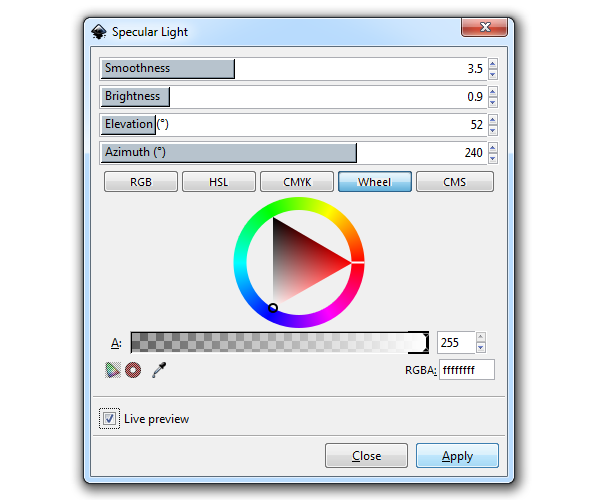
With the spiral still selected, head up to Filters > Bevels > Specular Light. This will open its own window where you’ll copy the settings I have shown below. You can also change these up for a personal touch if you so desire.
Step 2
After we apply the specular lighting, you should now get something like below. It’s starting to look really good!
Step 3
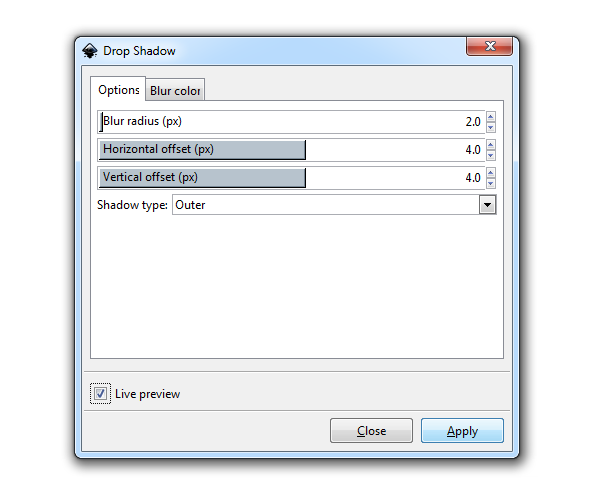
But yet, a little more will still help. Let’s add a Filters > Shadows and Glows > Drop Shadow with similar settings to mine.
Step 4
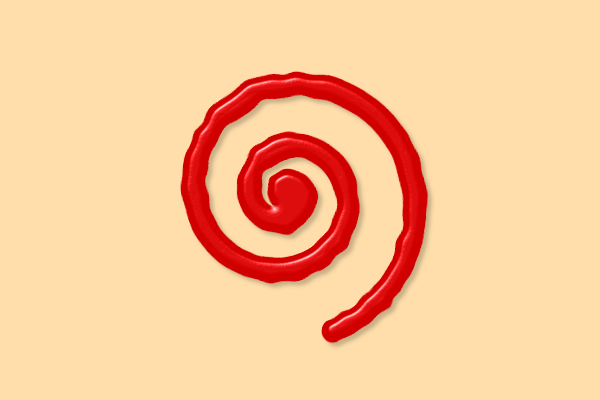
The addition of the slight drop shadow really helps bring this ketchup mess to life!
Step 5
It looks pretty good on text, too! It’s a little to clean and perfect, but we’re not exactly going for ultra realistic here.

Step 6
But the best part is that the additional specular light and drop shadow effects have all been added to the initial custom effect we started with.
Step 7
Knowing this, we can actually save this custom ketchup filter permanently in Inkscape.
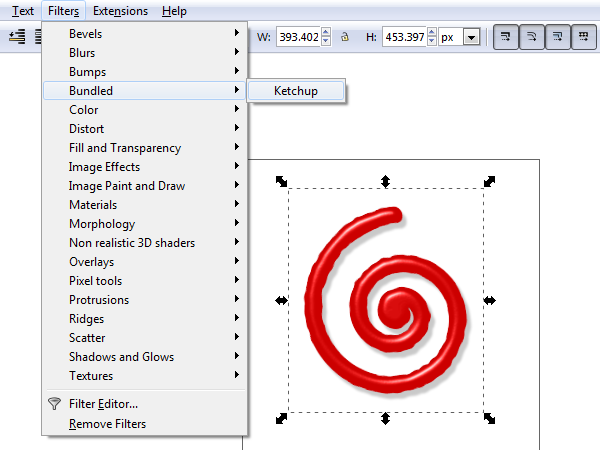
Ketchup, Catsup, Ketsup!
We’ve successfully created our very own custom filter in Inkscape. Not just any filter, but a pretty good looking ketchup sauce effect. It looks good on strokes, borders, and even most text. This will be easy to mess around and have some fun with. Let me know of what cool things you guys come up with!