So you’re just tinkering with custom filters in Inkscape, but then you make the holy grail of filters. You gotta save it now for permanent use, right? Let’s learn how to install a custom filter in Inkscape!
Step 1
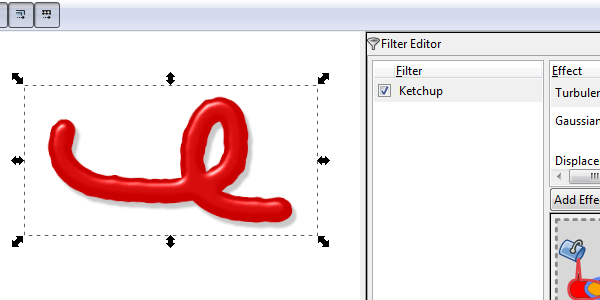
Below, I’ve created the perfect ketchup effect that I’d like to use in the future. The first thing we need to do is name the filter by simply clicking on the filter.
Step 2
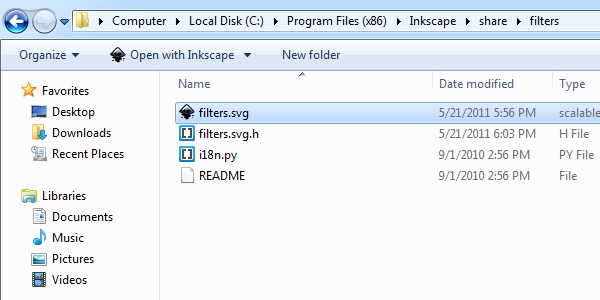
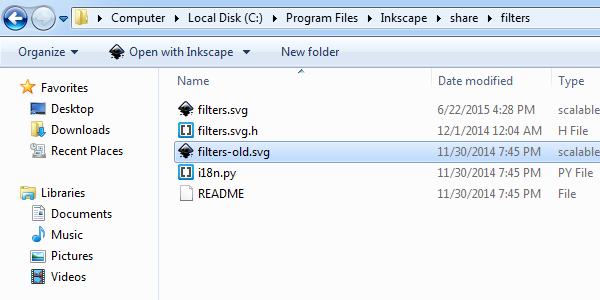
Now we need to go to our Inkscape’s filter folder, which for me was Inkscape > Share > Filters. In here, you’ll see the main filters.svg file. Let’s open this.
Step 3
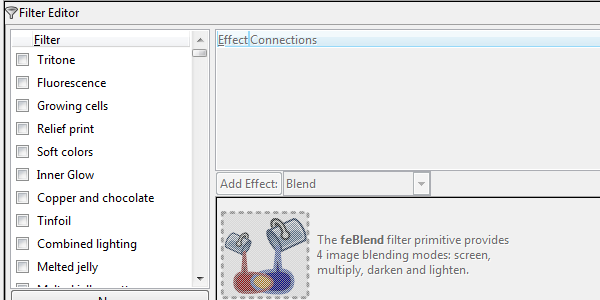
In this file, the Filter Editor has all of the standard Inkscape filters. This is where we’ll be placing our custom filter.
Step 4
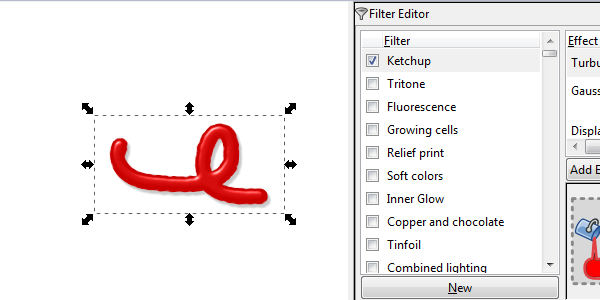
The best way I’ve found to add a custom filter is to paste an object that has your custom filter applied to it. As soon as you do, you’ll notice that your filter pops up in the Filter Editor. You can actually delete your object now, too - that filter isn’t going anywhere.
We need to save this file to make our changes effective, but you may get permission issues. If you don’t, then good for you!
Step 5
In the event where you do indeed get permission problems (like I did), just rename the old filters file to something else, like filters-old.svg. Then you should be able to save your new filters.svg right in here.
Step 6
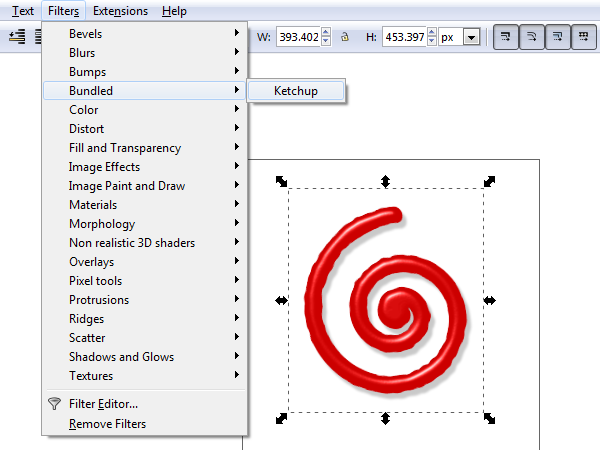
All we need to do now is close Inkscape and reopen it. If all went well, you can now head up to Filters > Bundled > (your filter).
That Was Easy!
We’ve effectively saved our custom Inkscape filter to use as a preset in the future. If you tinker with filters often, you know just how useful this will be in the future. Thanks for reading!