
Grass is very hard to emulate just because of how much of it there usually is in a single scene. And it’s not like they’re not just a bunch of straight lines either - there’s taper, curvature, and the sheer randomness that makes grass look like grass! With the power of Inkscape, we can learn how to easily create realistic grass.
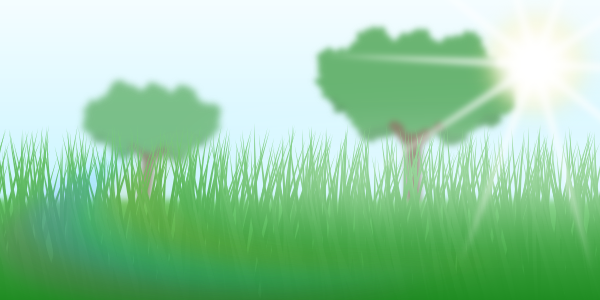
The Final Result
1. Drawing a Single Blade
Step 1
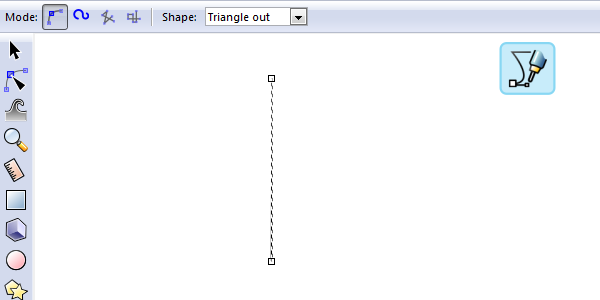
Let’s start with one simple blade of grass. Grab the Pen tool and draw a straight line with the Triangle out setting enabled.
Step 2
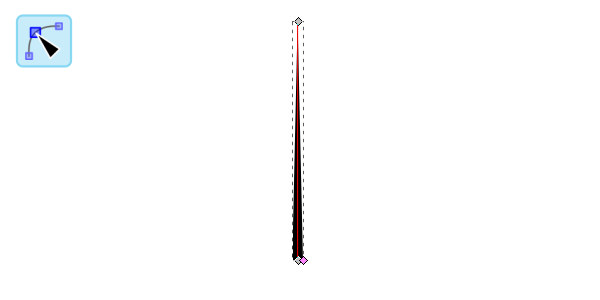
Now zoom in a little and get the Nodes tool. You notice the small purple node at the bottom, which we’ll click and drag to adjust the width.
Step 3
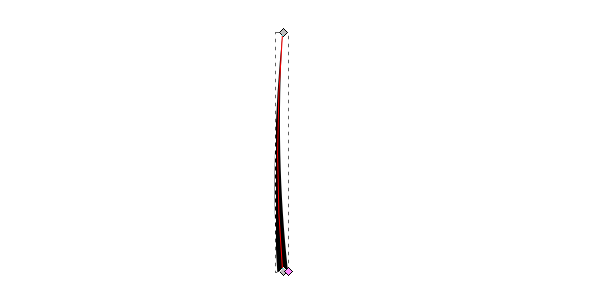
Still with the Nodes tool, grab the middle of the blade of grass and drag it ever so slightly to curve it. I find that this gives the grass a little more realism.
Step 4
This would be a good time to use the Gradient tool to make a light green to dark green linear gradient.

Step 5
The final thing we need to do is change the point of rotation. This is a hard one to explain, so if you don’t know how to do this, bear with me.
Select the blade of grass twice with the Selection tool to bring up to rotation handles on the corners. You should also notice a tiny cross at the center of the grass, but we need to drag this to the bottom.
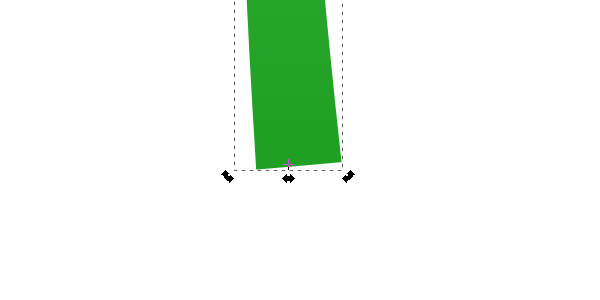
2. Create a Ton of Grass
Step 1
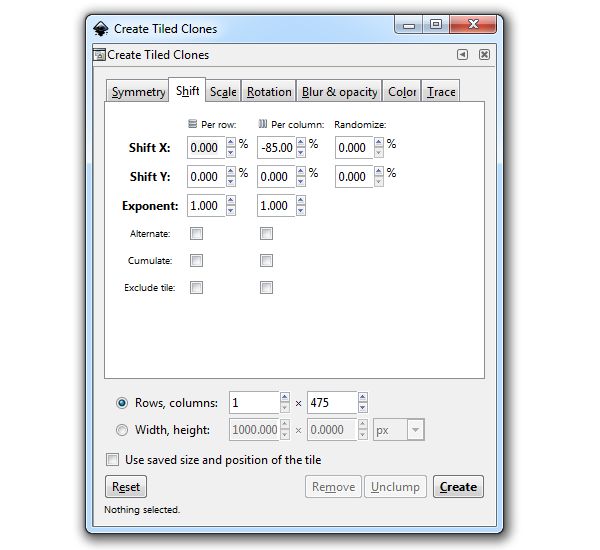
Select your single blade of grass and go to Edit > Clones > Create Tiled Clones. Here, we’ll adjust a few settings, but make sure you click Reset first, just to make sure. Shift X Per column -85%, Scale Y Randomize 10%, Rotation Angle Randomize 10%, and finally Rows, columns 1 x 475. When you’re all set, just click Create and watch the magic happen!
Step 2
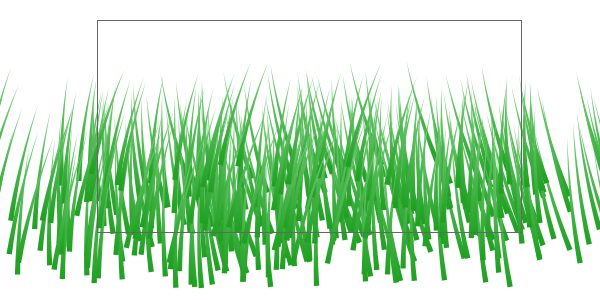
If you end up with something like this, Inkscape is glitching out for you like it did for me. I almost always have this issue and I’m not sure why. Just Control+Z to undo for now.
Step 3
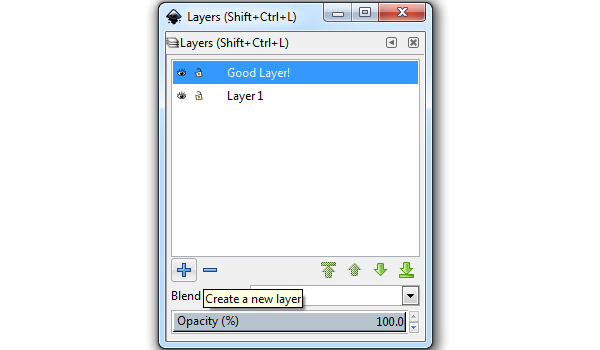
Thankfully, the workaround is easy. Head up to Layer > Layers and just move your single blade of grass to a new layer and repeat the Create Tiled Clones function.
Step 4
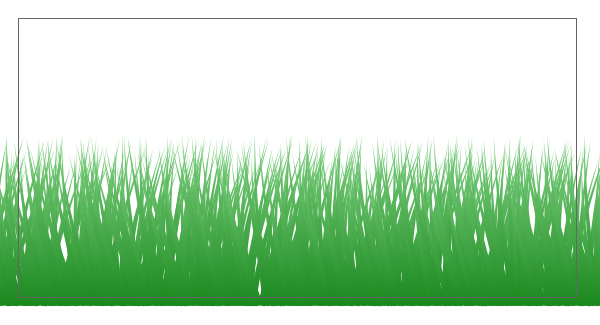
If all works out, you finally have a huge field of grass!
Step 5
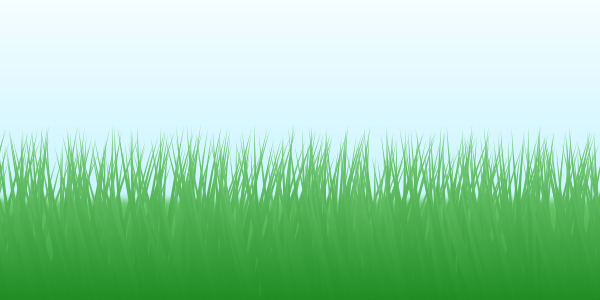
Honestly at this point, you can do whatever you need with your grass. I found that placing a slightly blurred green rectangle behind the grass added some finishing depth. Also, a gradient blue sky is a nice touch.
Step 6
I also added some of these randomly generated trees. And a sun, sun flare, bloom, and lens glare. Looks fairly realistic, right?
That’s It!
Inkscape’s Create Tiled Clones feature once again makes large amounts of objects easy to create. In this case, a realistic grass drawing was simple and the end result looks great. Thanks for reading this tutorial!