
In this tip, we’ll be going over a pretty unconventional method to create a full on 3d perspective grid in Inkscape. Let’s get started!
Step 1
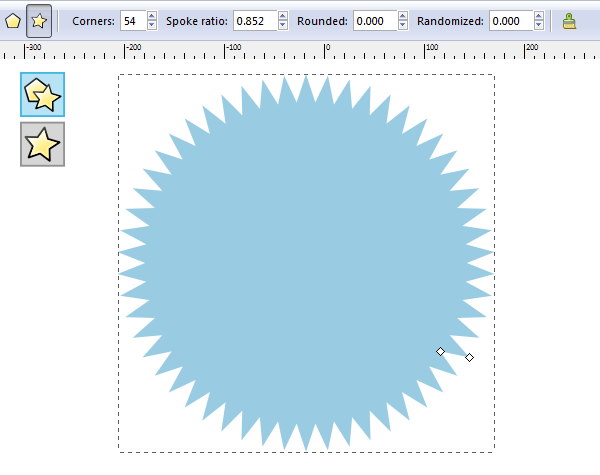
First off, grab the Polygon tool and draw a Star with the following settings. It doesn’t need a Stroke and color doesn’t matter.
Step 2
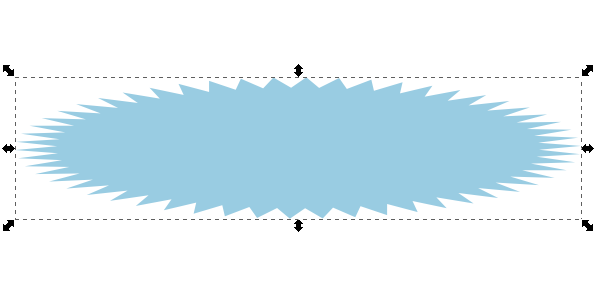
Now, what you want to do is head up to Path > Object to Path. Select the shape and give it a Width 400px and Height 100px.
Step 3
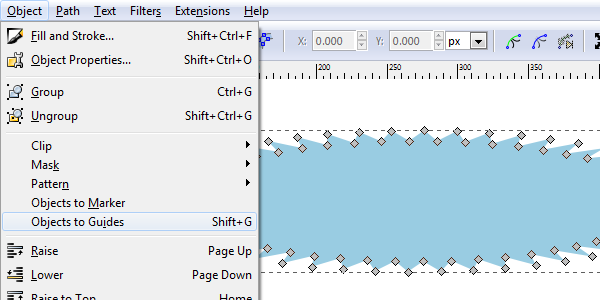
Next, select Object > Objects to Guides to create the “grid”.
Step 4
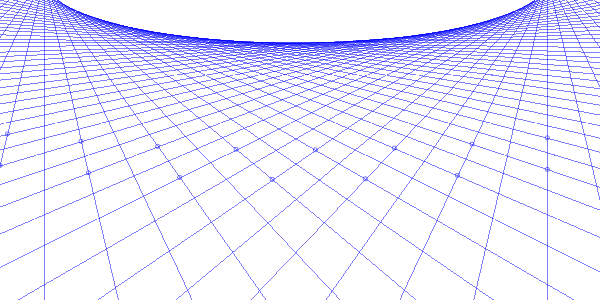
You’ll end up with this incredible result. While it’s not technically a grid, it’s actually a series of Guides which will act as our 3d perspective grid.
Step 5
To make these guides functional as a grid, set your Snapping options accordingly (most notably enabling guide snapping).
Step 6
I went ahead and used my Pen tool to draw a simple box within this perspective grid. Awesome, right?
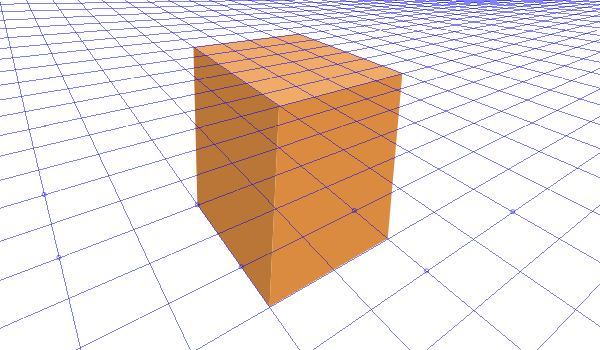
That’s It!
By using a cleverly designed polygon star, we were able to convert it into an amazing 3d perspective grid to use in Inkscape! This will be fun to mess around with because of all of the different settings and possibilities with these grids. Let me know what you come up with! Thanks for reading.