
You may have already known, but Inkscape has a pretty neat extension called Perspective. The concept is simple: convert your drawing into paths and apply a target perspective shape. Let’s do an example!
Step 1
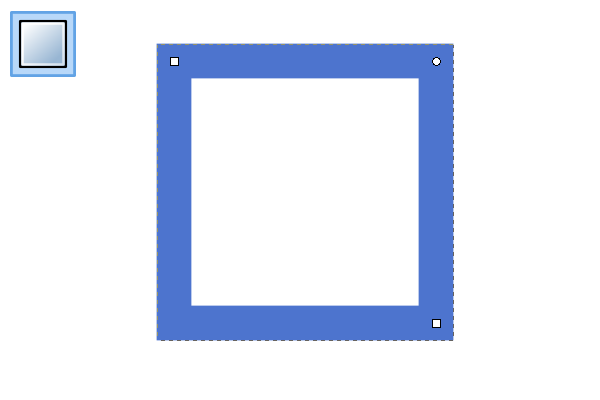
I’m going to start a simple drawing. First, I drew a square and applied a thick blue Stroke and removed the Fill.
Step 2
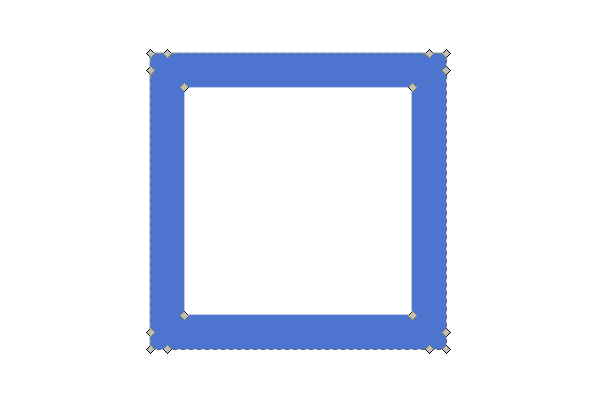
Now, head up to Path > Stroke to Path to convert this object into paths.
Step 3
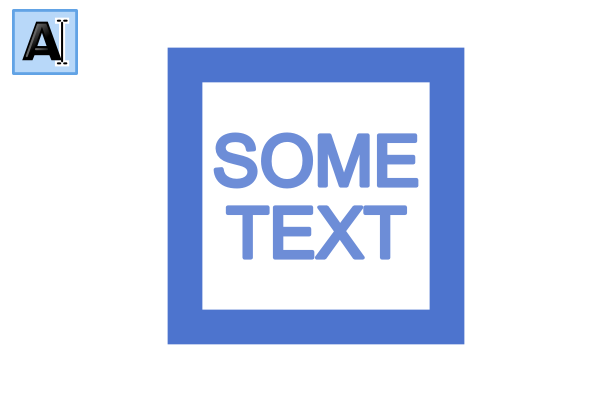
Just for the heck of it, I’m going to add some text (literally).
Step 4
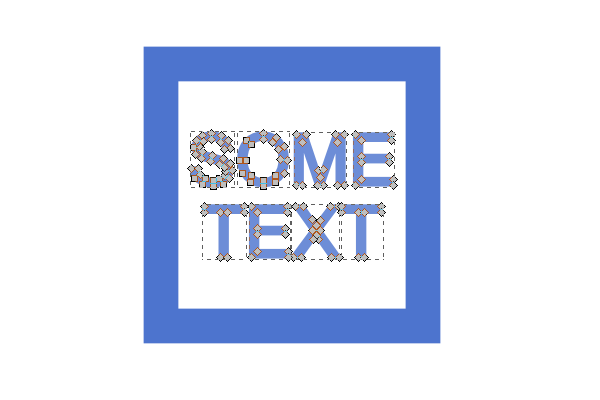
Since everything has to be paths in order for Perspective to work, let’s convert the text by selecting Path > Object to Path. Just to be safe, I’m going to Object > Ungroup the text.
Step 5
Now, it’s time to draw our target shape. The rule for this is to use the Pen tool, start your first node at the bottom left, then finish the quadrilateral clockwise.
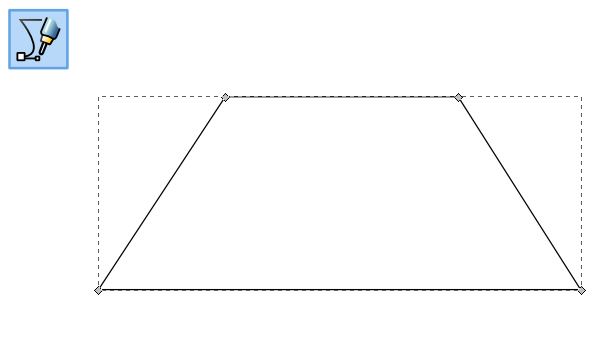
Step 6
Before we apply the Perspective, make sure our original artwork is grouped. Then select your artwork and shift+click the target perspective shape. Finally, it’s time to Extensions > Modify Path > Perspective.
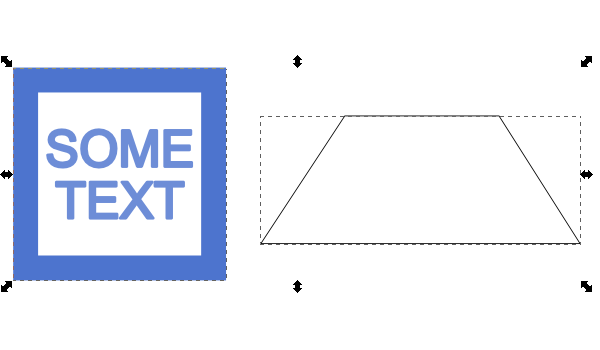
Step 7
You should end up with something like this. Cool, huh?
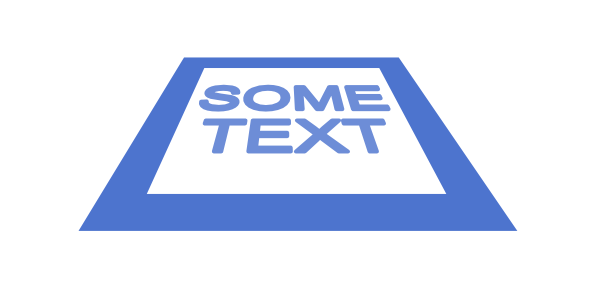
Step 8
Well, I might as well just do another one.
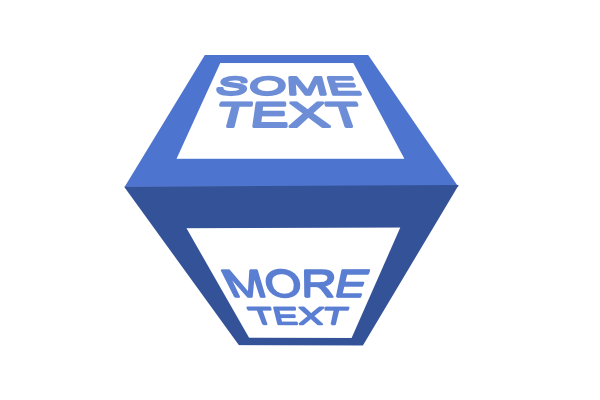
There’s Our Perspective!
That was a quick peak at the Perspective extension in Inkscape. We went over the basics and how simple it is to use, so hopefully you’ll be able to play around with it and come up with some cool stuff! It’s worth noting that Perspective can be a little touchy, so you may end up with undesirable results - just keep tinkering with it. Thanks for reading!