I’ll bet you didn’t know you can use Tweak tool to paint things, did you? Either way, this is a really neat way to utilize a few of Inkscape’s features to color in a unique set of tiles.
Step 1
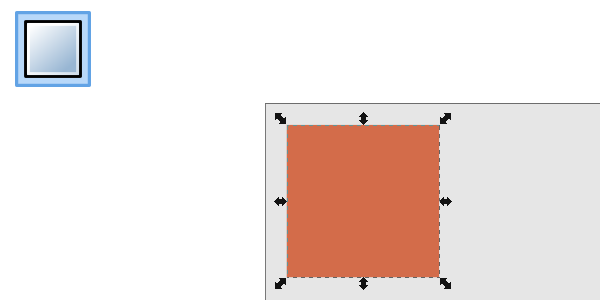
First, grab your Rectangle tool and draw a perfect 35px by 35px square. Then go to Path > Object to Path to convert it into a path.
Also, position the square 5px from the top and the left of your document.
Step 2
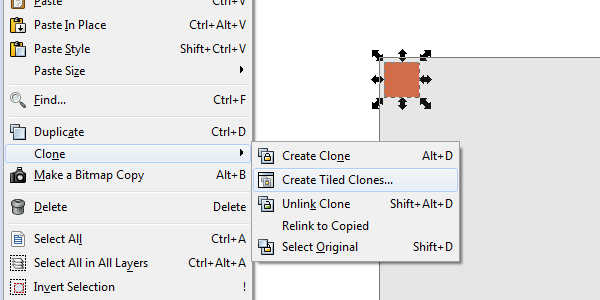
With the square still selected, go to Edit > Clone > Create Tiled Clones.
Step 3
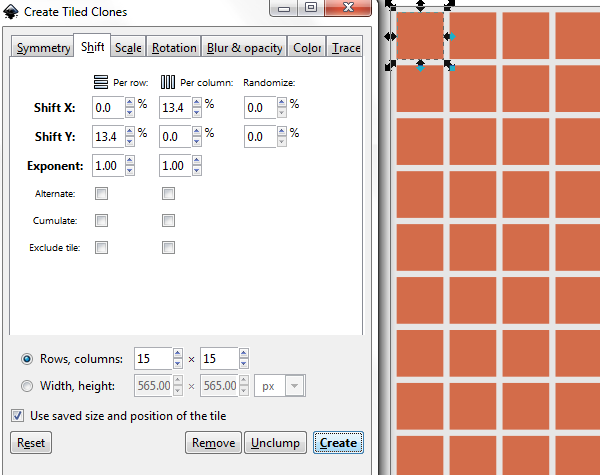
Click the Shift tab and set the variables as I have them below. Since I happen to have a 600px by 600px document, I can cram 15 of these squares in here, so enter that in for Rows, columns. Then just click Create.
Step 4
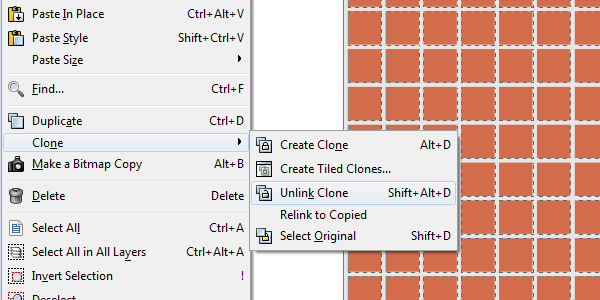
Since we’ll want to edit these squares individually later on, we should select all of our squares and go to Edit > Clone > Unlink Clone.
Step 5
With all of the squares still selected, we can now select our Tweak tool and set it’s mode to Paint the tool’s color.
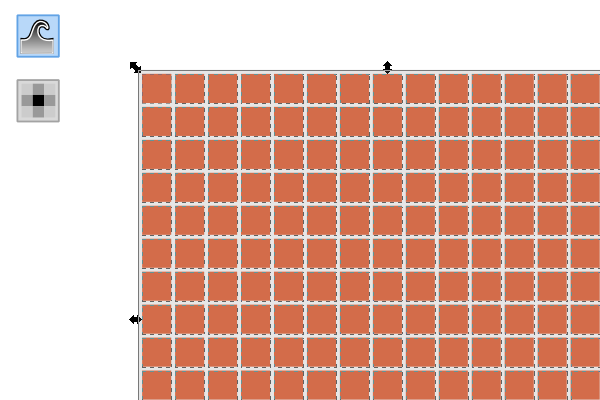
Step 6
All of the selected tiles are now ready to be painted. Go ahead and change your Fill to a different color and click+drag over all of the tiles to paint them. Awesome, huh?
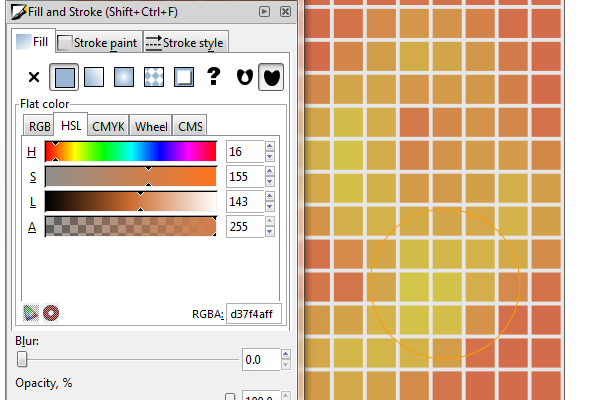
Step 7
I used about 4 different colors to create this neat, smooth mosaic-like design. Just keep messing around with different colors!
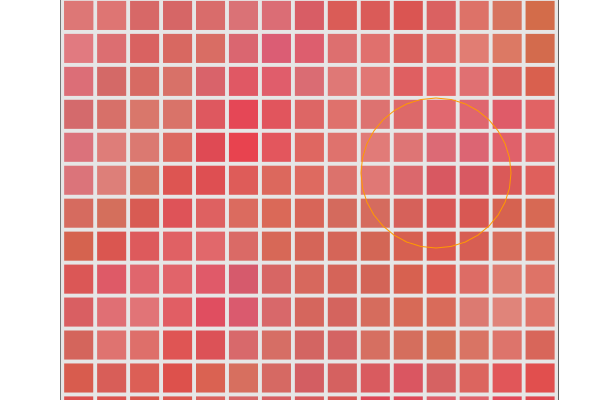
Step 8
For a few finishing touches, I added a slight Filters > Shadows and Blurs > Drop Shadow to give it some depth. I also went as far as to add some gray texture with Filters > Image Effects > Film Grain behind the tiles to simulate grout.
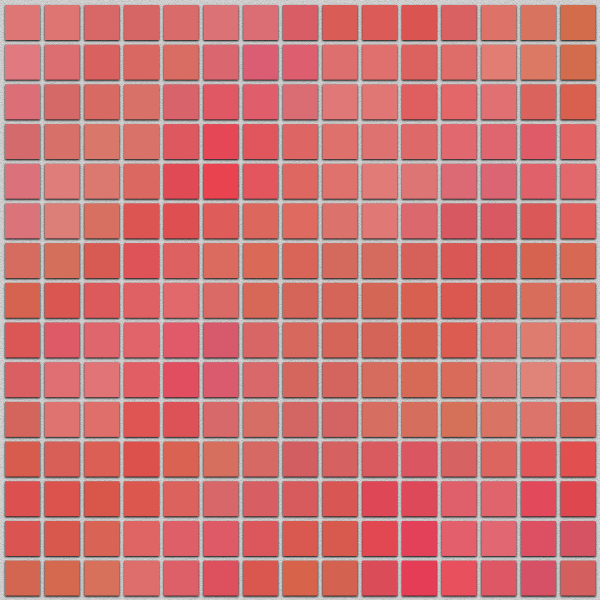
And There’s That!
Our end result looks like some sort of painted mosaic tile, which is pretty cool. Knowing how to use Create Tiled Clones is an excellent skill in Inkscape since it’s so efficient and dynamic. Hopefully this was a good way to learn how to tile, along with a neat use of one of the many features of the Tweak tool. Thanks for reading!