In this holiday tutorial, we’re going to go over an excellent trick to draw a wreath with ease. By using repeating objects as markers, we can essentially create a wreath out of any shape. Let’s get started!
The Final Result

1. Freehand the Bristles
Step 1
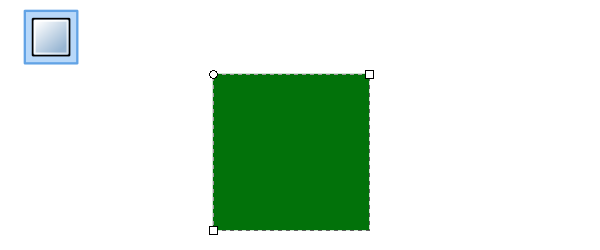
To start our bristles pattern, grab the Rectangle tool and draw a perfect green square (hold Control and drag).
Step 2
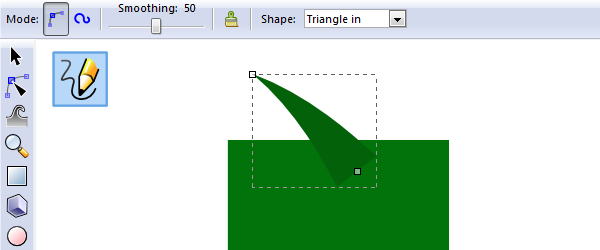
Next, grab the Pencil tool and set Smoothing: 50, along with setting Shape: Triangle in. With these set, you’ll be able to simply freehand a bristle with a slightly darker green.
Step 3
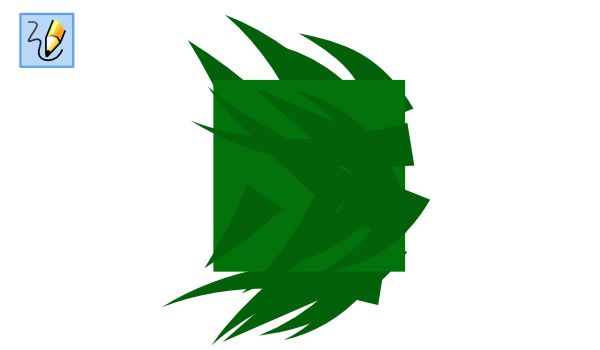
Go ahead and keep drawing these bristles like I have below. As you can see, I’ve placed some behind the block to make the others easier to work with.
Step 4
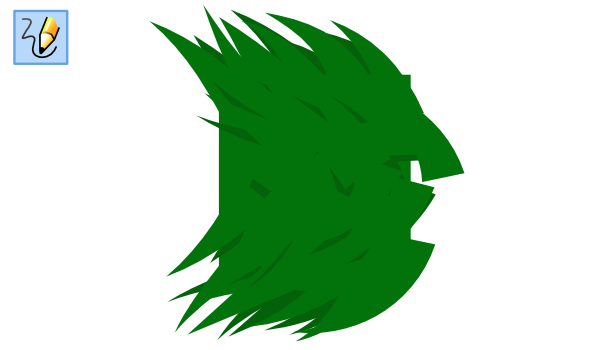
Then proceed to fill the square with even more bristles. You’ll notice that I did the original green for the top layer (the dark green was just to add some depth). I won’t lie… this took a good amount of tinkering to make it look just right for the upcoming pattern.
2. Creating the Pattern
Step 1
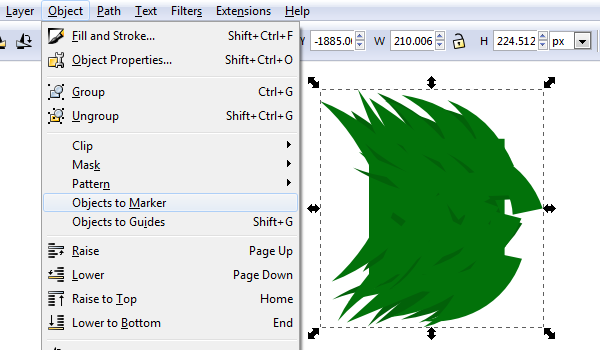
Select the square/bristles and Control+G to group those together. With your group selected, head up to Object > Objects to Marker to move this over to the markers.
Step 2
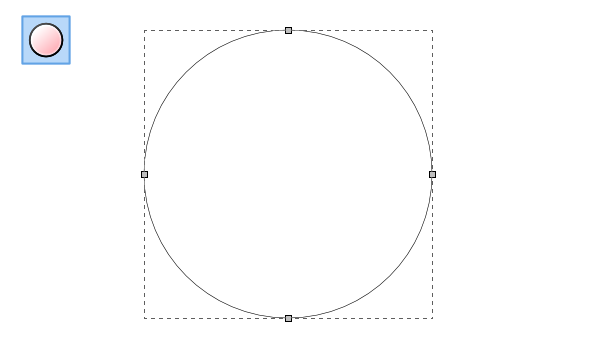
We’ll be doing a simple circular wreath, so just use the Ellipse tool to draw a perfect circle (hold Control and drag). Also, head up to Path > Object to Path to convert this circle to some nodes.
Step 3
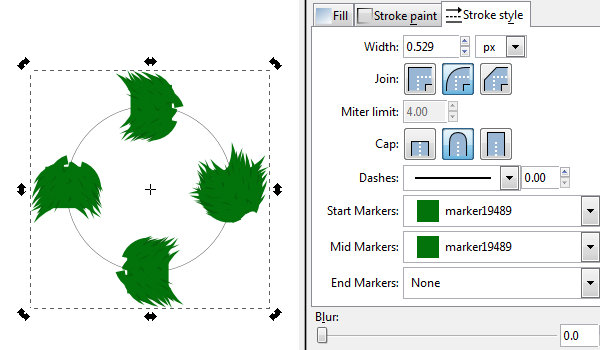
With your circle selected, head over to Fill and Stroke and click the Stroke style tab. This is where you’ll be able to assign your custom objects as a Start Marker and Mid Marker.
Step 4
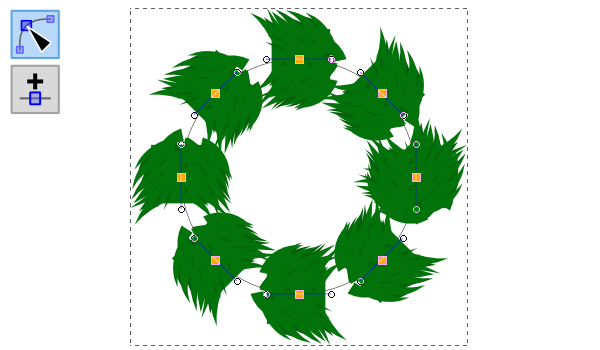
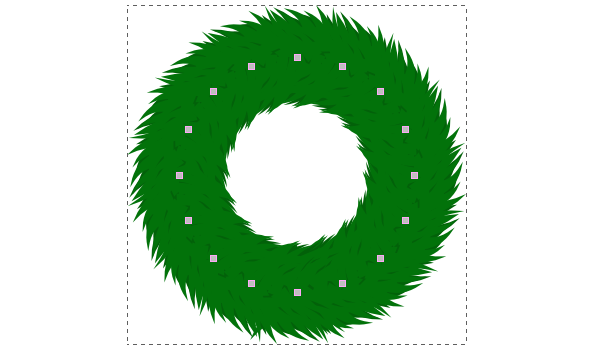
With the markers assigned, select your circle with the Nodes tool and click the Add nodes button. Since we have the Mid Markers set, it’ll just add more of the bristle pattern, so just keep adding nodes until you get desirable results.
Step 5
Here’s my finished wreath bristle pattern. I should also note that I adjusted the circle’s Stroke width to adjust the thickness of this pattern.
3. Final Touches
Step 1
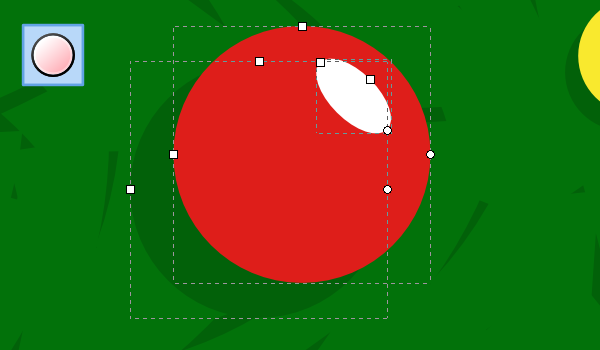
We might as well finish up the wreath at this point! Some people enjoy decorating wreaths, so let’s throw some ornaments on here. Simply draw a dark green shadow circle, a red circle, and a white oval reflection. Easy enough - you can do this!
Step 2
I also did some smaller yellow ones and just scattered them about.

Step 3
If you want to go all out, you can slap a bow on the bottom! I just drew this one really quick by hand, so maybe yours might look better. Oh, I also put a Filters > Shadows and Glows > Drop Shadow for some extra awesome.
Wreally Easy, Huh?
This tutorial is part of 5 Easy Holiday Drawing Tutorials Using Inkscape
By using Inkscape’s neat Objects to Marker settings, we very easily created a circular wreath from just a small pattern. It actually looks a lot better than I expected, but you definitely need to tinker with those bristles to get it to look just right. Thanks for reading!